Staff Page
Estimated reading time: 1 minuteOverview
The Interject Portal site allows you to add, edit, or delete users from your organization via the Staff Page. Here you can also activate or deactivate a user. Viewing the Staff Page and all the functionally with it is only accomplished with the ClientAdmin role.
The Staff Page
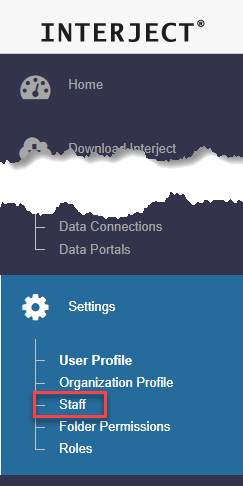
The staff page includes a list of all users that have access to Interject within your company. On the left navigation pane, click Staff.
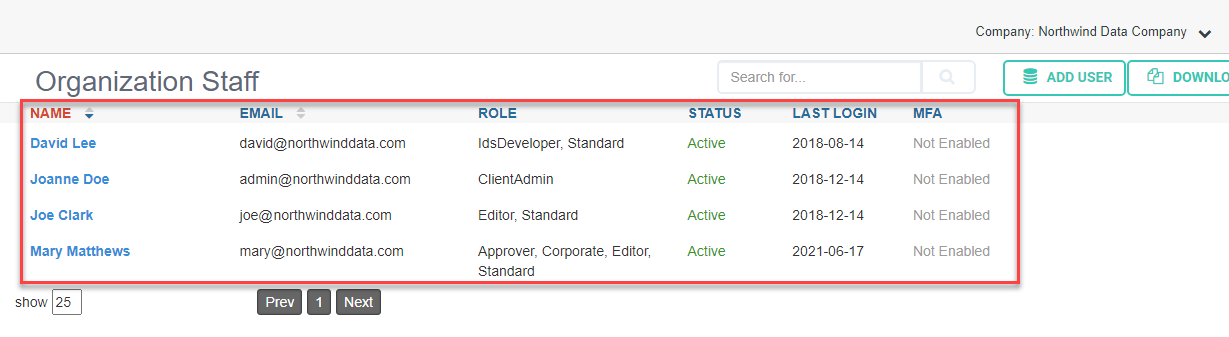
You should see a list of staff under your company. You can view various information pertaining to the users here in list format.
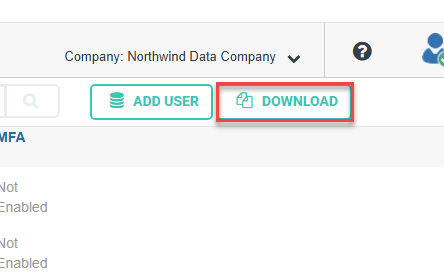
You can download a csv file of all the staff by clicking the Download button:
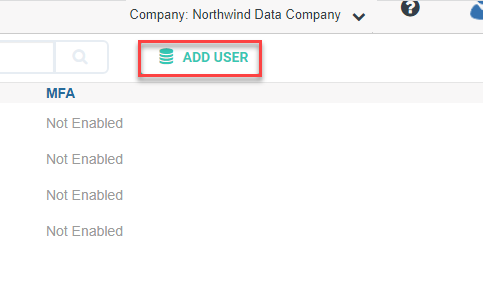
You can also set up multi-factor authentication from here. For more information, see MFA.
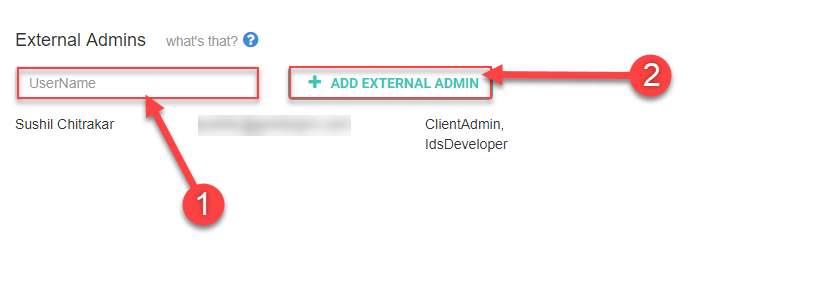
External Admins
You will also see a list of External Admins. These are Interject staff members who have been set up for your company to help manage your data.
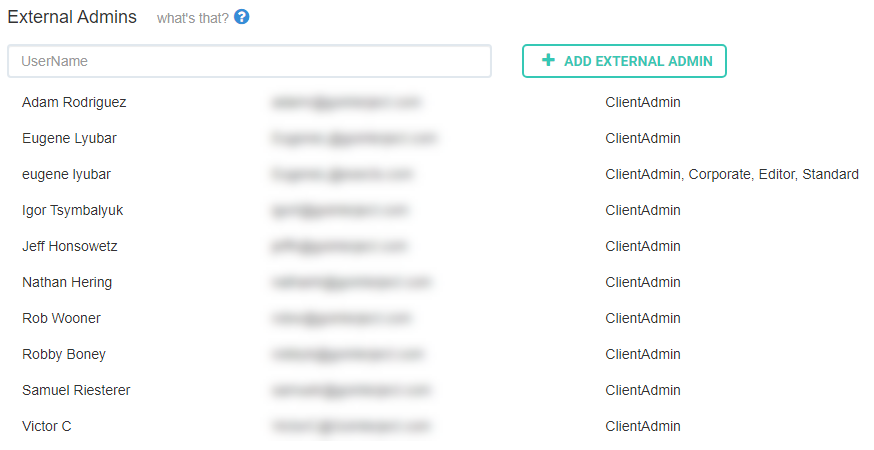
To add an External Admin, enter their email address and click Add External Admin.
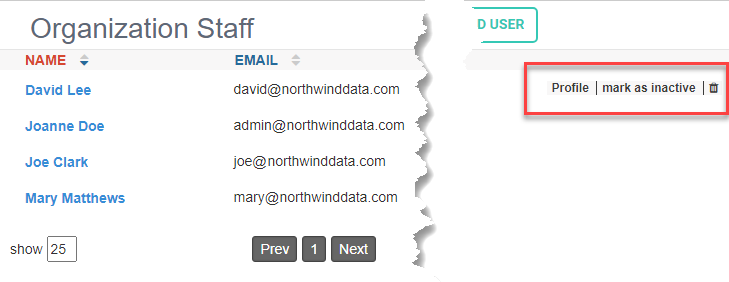
View, Edit, Activate/Deactivate, Delete User
From the Staff page, you can do the following by hovering the cursor over the user:
- Profile: View/Edit a user
- Mark as Active/Inactive: Enable or disable a user's access to Interject
- Garbase Icon 🗑: Delete a user
Add User
Clicking on the Add User button will open the User Profile page where you can add a new user. For detailed information, see Adding A User.