Modify: Inventory Report
Estimated reading time: 9 minutesOverview
In this example you will be modifying a fixed report. Specifically, you will be adding a missing row as well as an extra column.
If you are following the Training Labs, this report file can be found in the Report Library at Training Labs > Lab 2 Modifying Reports > Lab 2.3 Inventory Report.
Setting up the Report
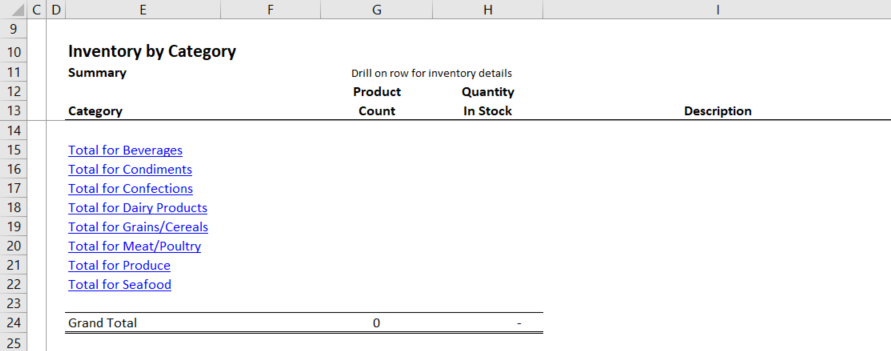
Step 1: First, go to the Report Library and select the Interject Inventory Demo report.
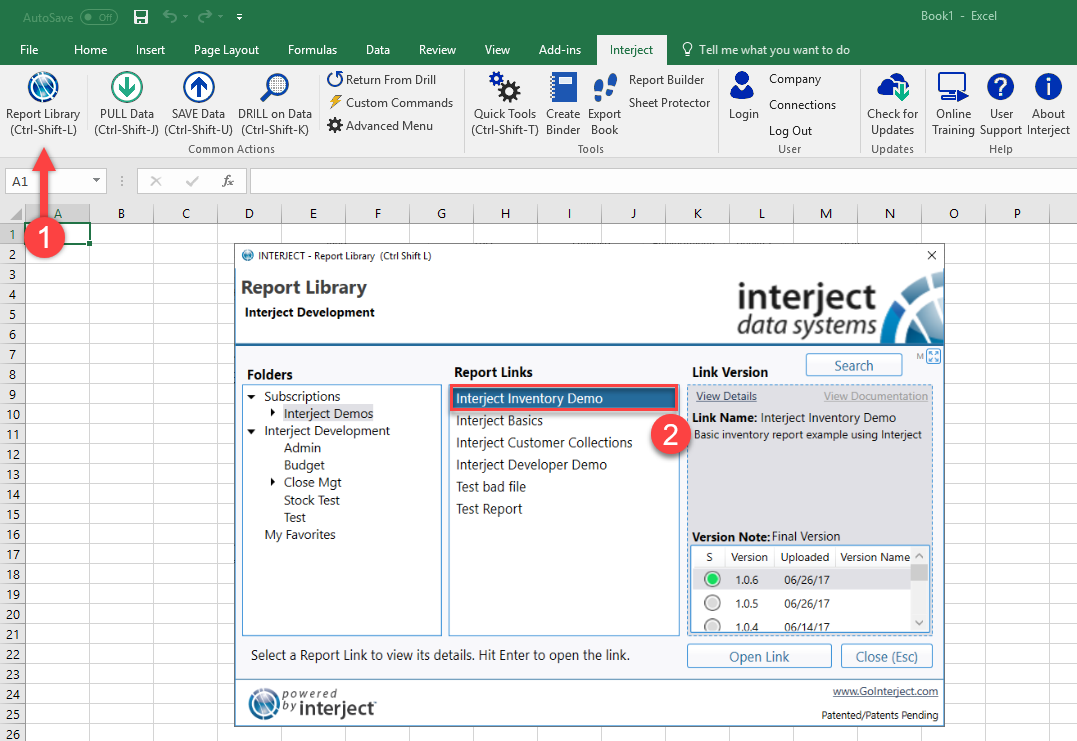
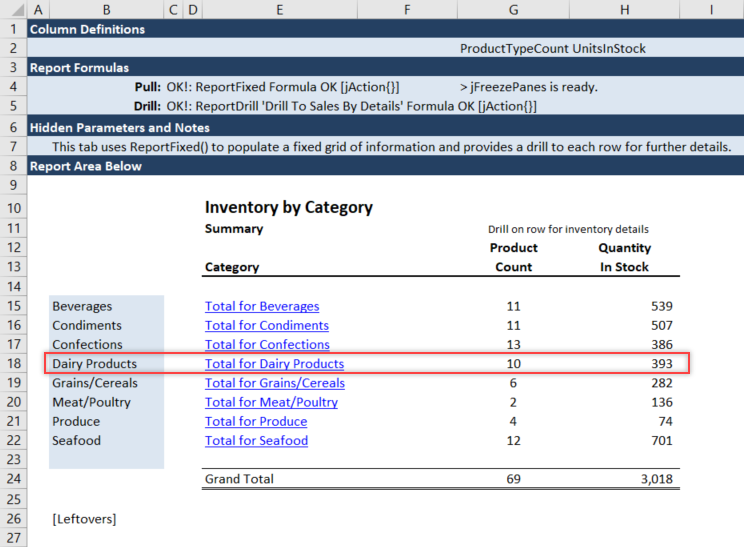
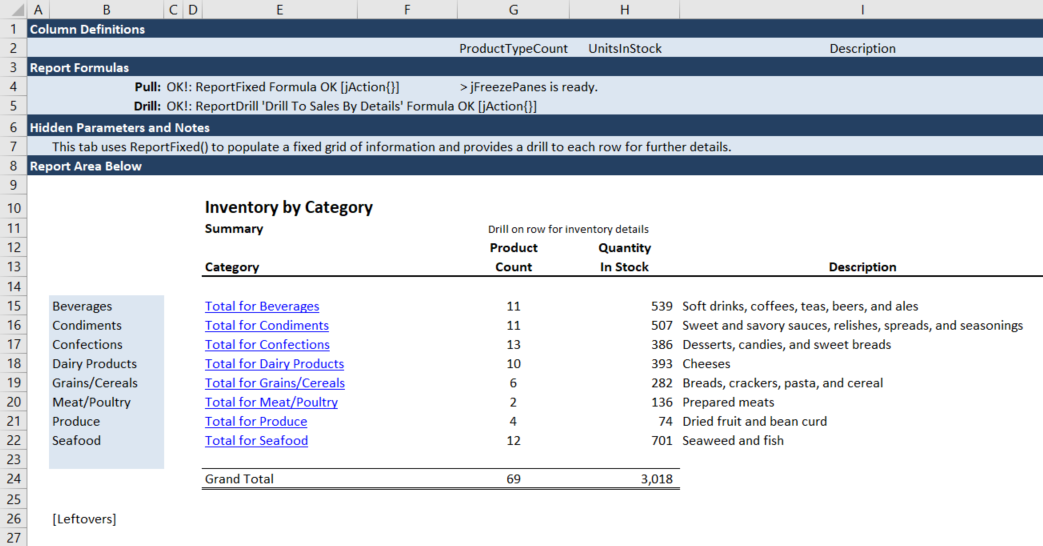
It should look like this when opened.
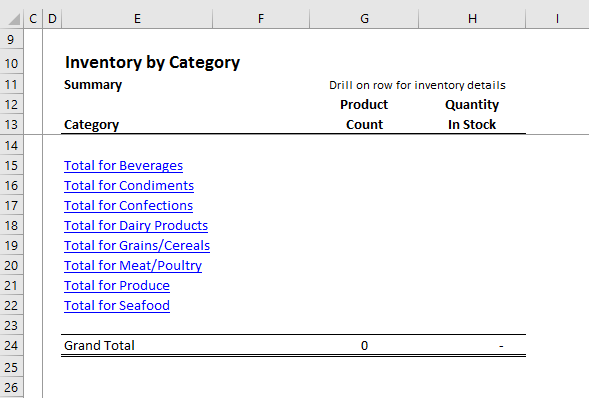
In order to add a missing row to this report, it is necessary to delete a row first in order to simulate the need for modification.
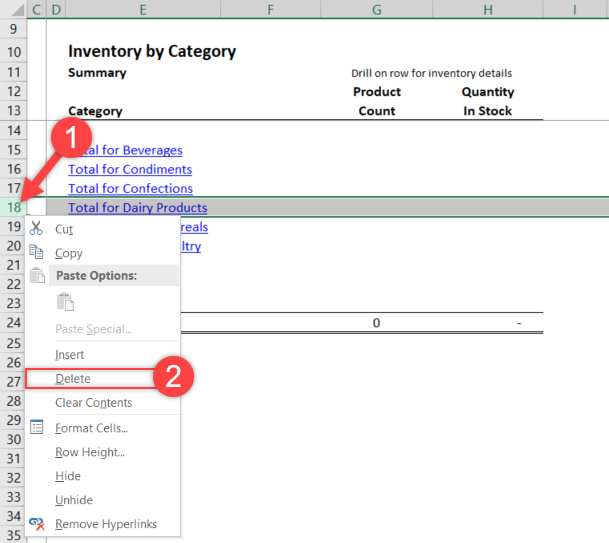
Step 2: Right click row 18, Dairy Products, and choose delete.
With the row deleted, the report should now be structured as shown.
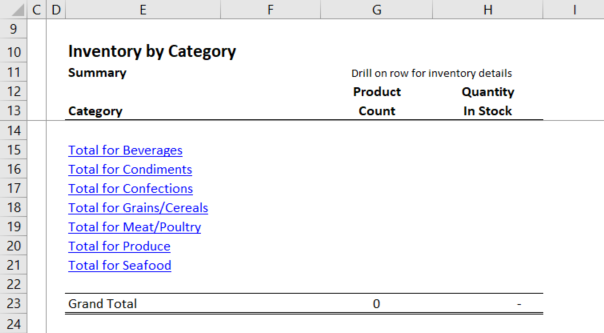
You can now begin modifying the report for this lesson.
Adding a Row to the Report
Step 1: First, use Pull Data menu item so you can see how this report has been configured and to show that a row is missing from the main section.
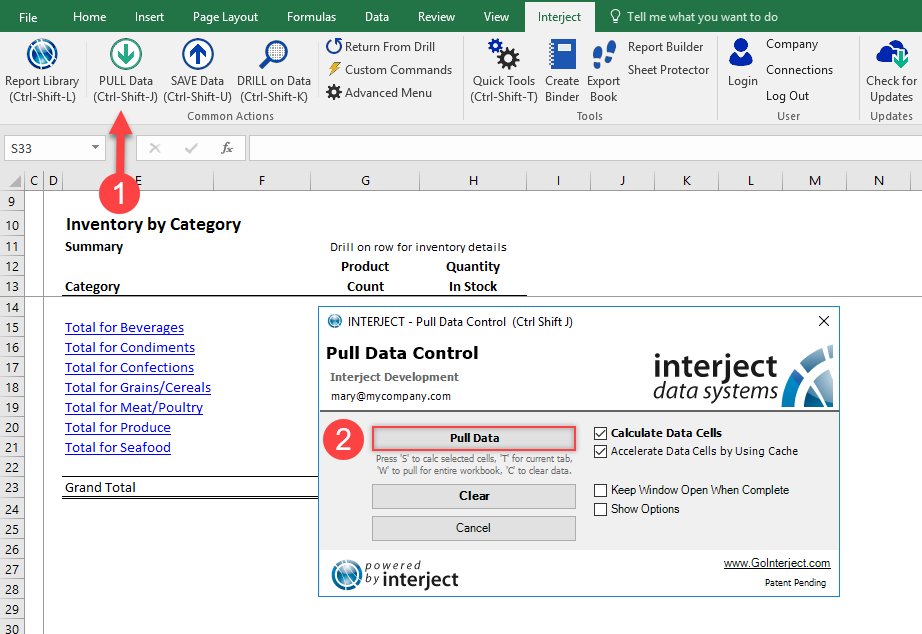
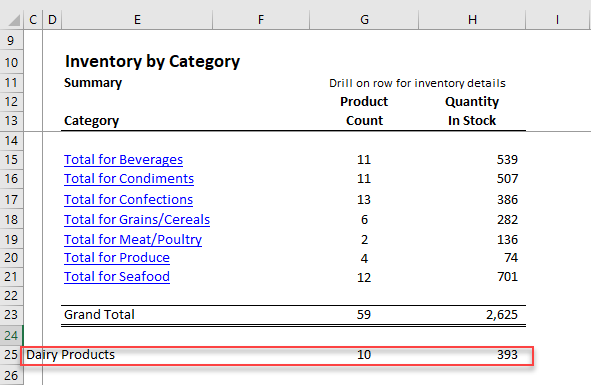
Here you can see that the category Dairy Products is below the main body of the report. This is considered a Leftovers section and will present rows that were not included in the fixed report area above between rows 15 and 22.
Add Dairy Products back to the main body of the report.
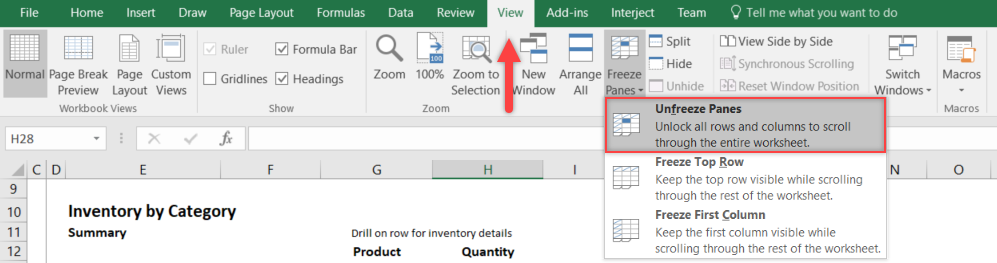
Step 2: To add another category, unfreeze the panes. Open the View Ribbon in Excel and select the Freeze Panes drop-down. Then choose Unfreeze Panes.
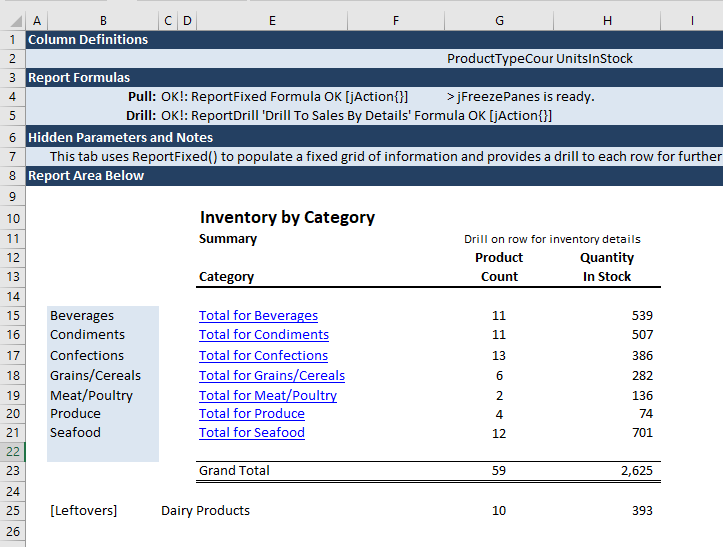
By unfreezing the report, the formulas and parameters that were hidden before can now be viewed. If this is the first time seeing these, go to Basics of Report Formula's to learn more.
You can see this by opening these sections that Dairy Products is being pulled in the Leftovers section configured in cell B25. Since you want Dairy Products with the other categories in the main report, you will need to add it.
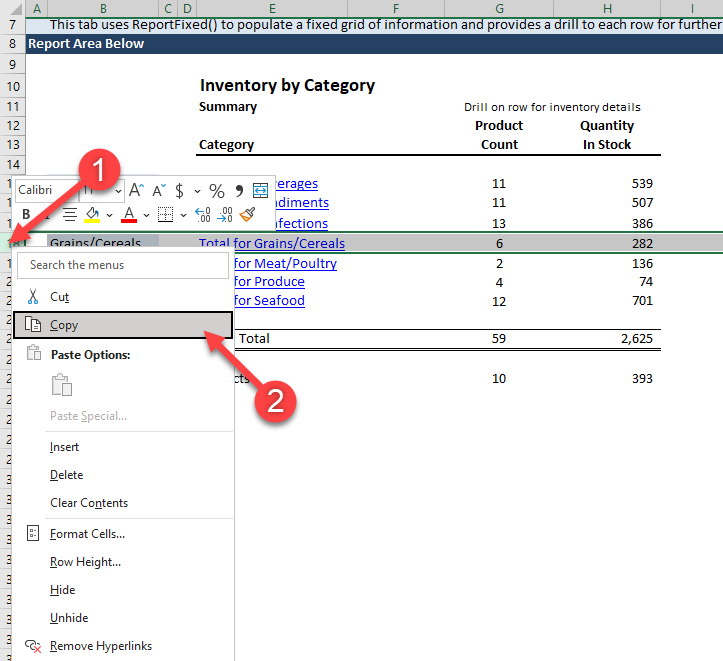
Step 3: To move Dairy Products into the main section, insert a row. Right click a row anywhere between 15 and 23 and copy it. By copying a row, it will ensure that the new row inserted keeps the same formatting as the other rows.
Step 4: Now, right click again anywhere in the same range and insert the copied row.
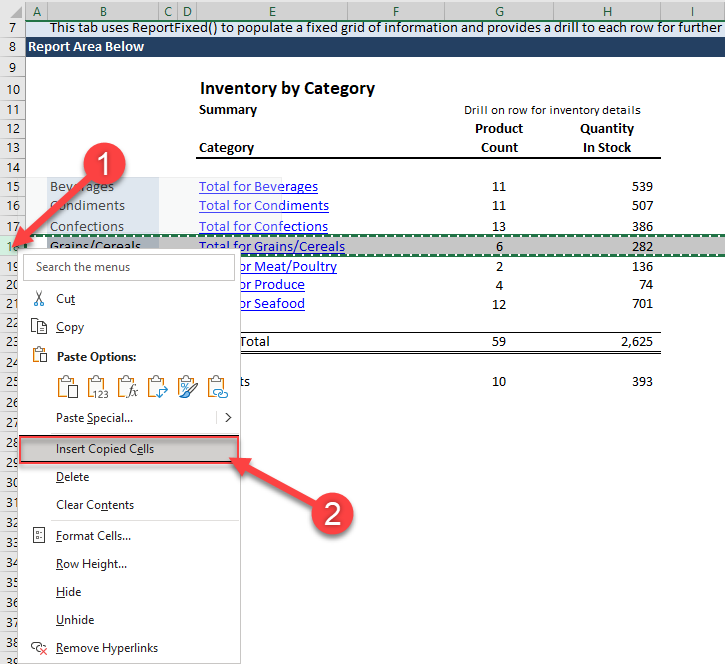
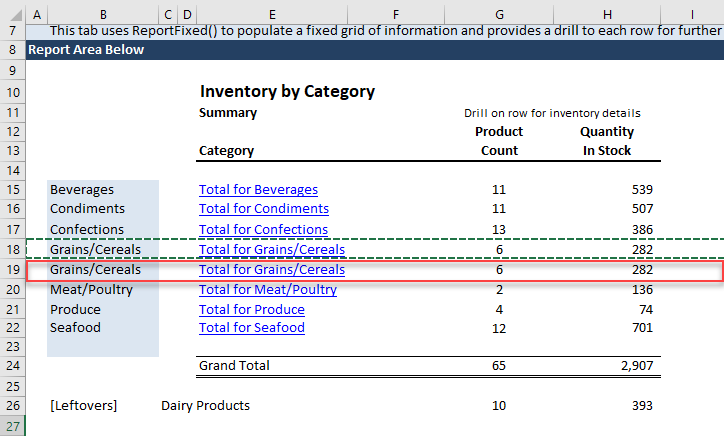
This will temporarily create two Grains/Cereals sections and you will edit the new one.
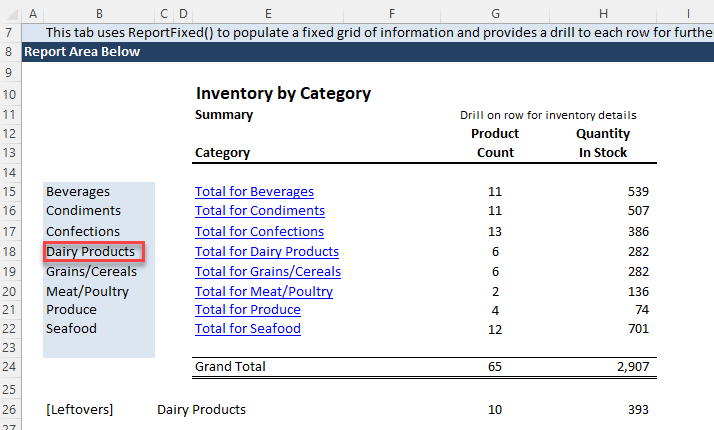
Step 5: Once you have the new row inserted, you will need to change the category name in the new row to Dairy Products in column B. This is called the Row Definition and is how Interject knows what data to place in that row. In this example, the column E formula references column B, but this does not have to be the case. You can control what the user sees in column E.
Below, you changed the definition for row 18 to Dairy Products and are ready to pull data again so that the row has correct data.
Step 6: Because you copied an existing row, the data for Row 18 is still duplicated from Grains/Cereals, Pull the Report to refresh the data and check your work. Data should update for row 18, and Dairy Products should disappear from leftovers area.
Adding a New Definition Column
As it is, the report does not describe what each of the categories contains, so add a description column to the report so you know exactly what is in each category.
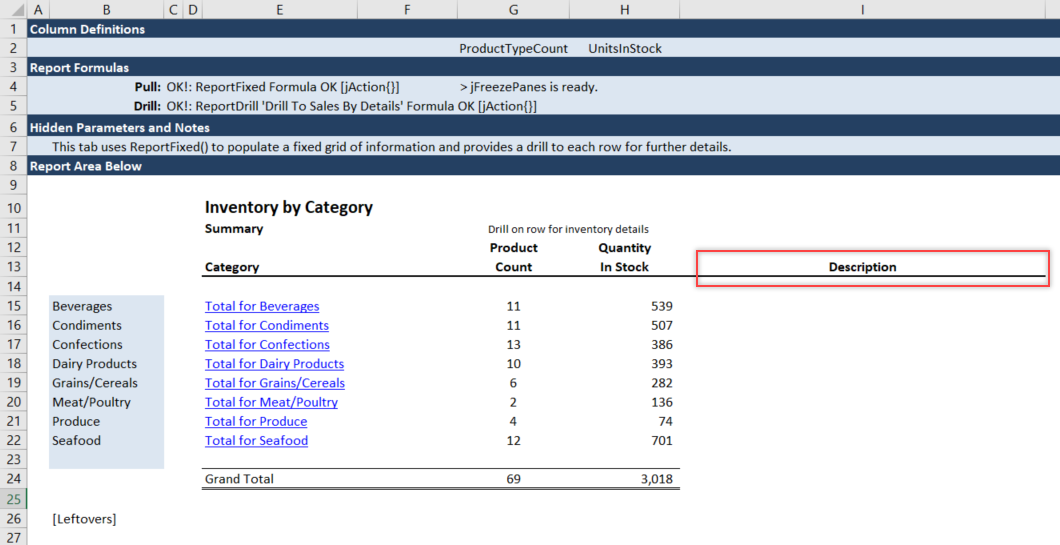
Step 1: First, add the column to the report. Call it Description. Be sure to make it wide enough to contain the longer description text as shown below.
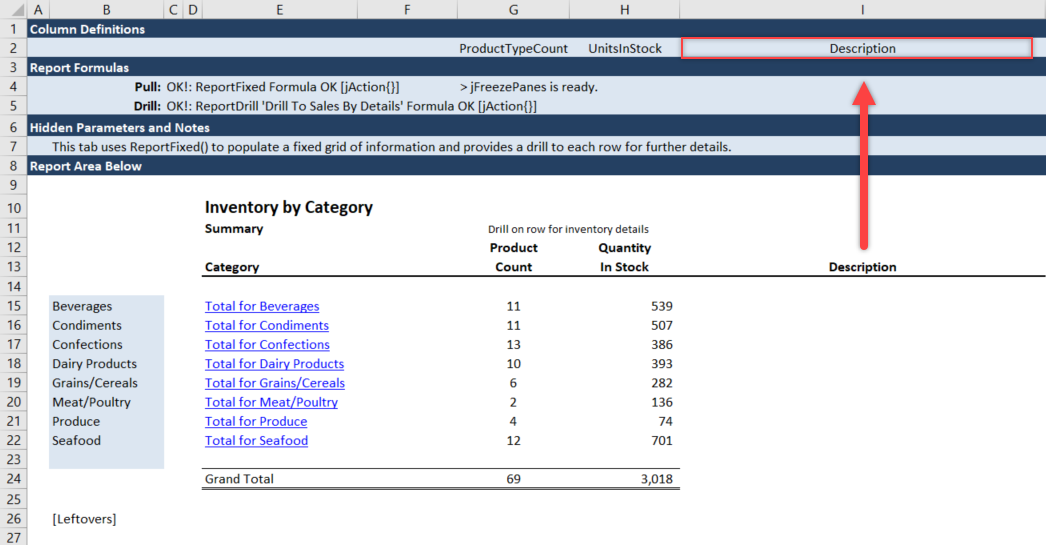
Step 2: Now add the Column Definition value in the top part of the report so that Interject knows to bring in data to that column.
Step 3: Pull the data to make sure everything works as expected.
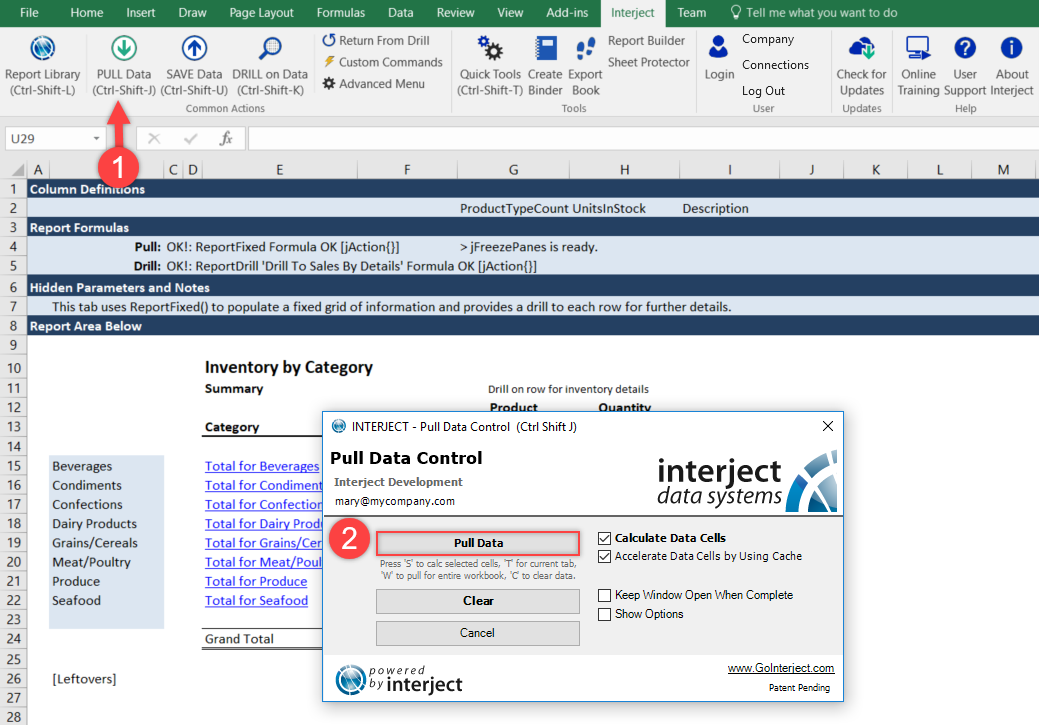
This will refresh the data and pull in the new description data, placing it in the specified column.
Preparing the Report to Share
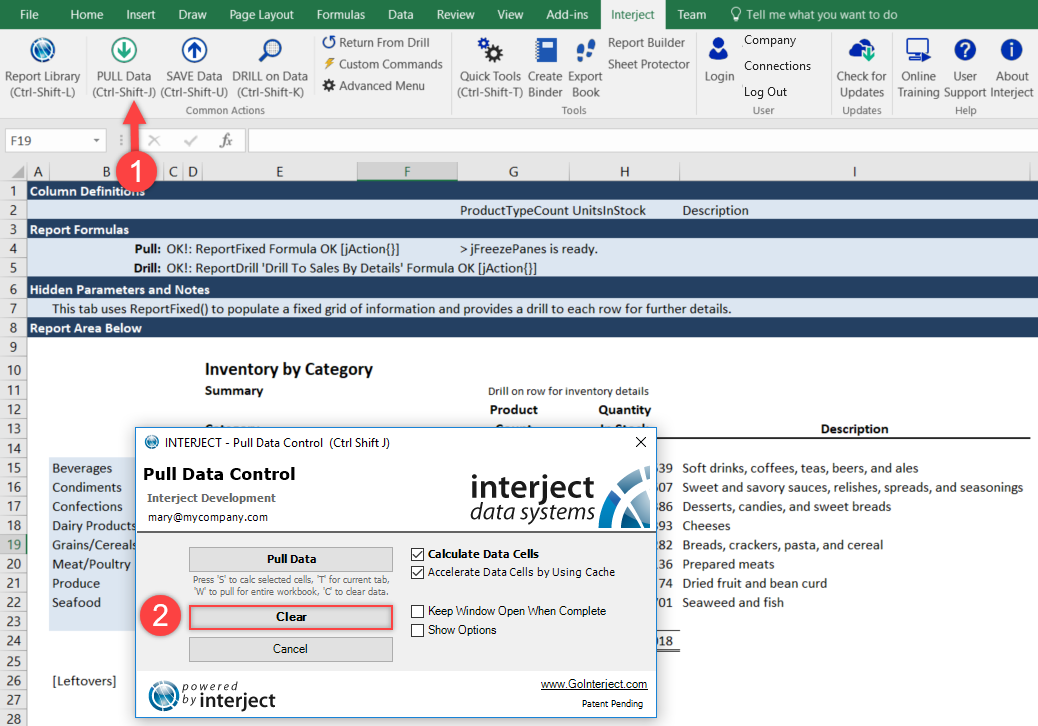
Before saving back changes to the Report Library, clear the data so the next user does not see data that may not be relevant to their cost center.
Step 1: Here clear the report of all of the data.
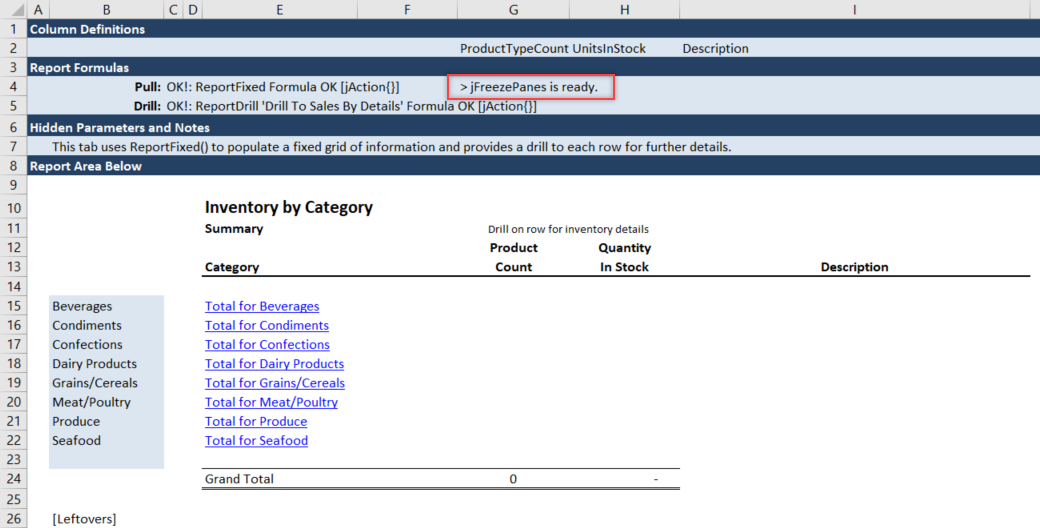
Now that the data is cleared, use the jFreezePanes function to re-freeze the panes on the report so that only the main report area is visible. This report has the jFreezePanes formula in cell G4.
jFreezePanes is not configured for all the example reports, but it is easy to setup when needed.
Step 2: To use the jFreezePanes, click the Quick Tools button in the Interject Ribbon and select Freeze/UnFreeze Panes.
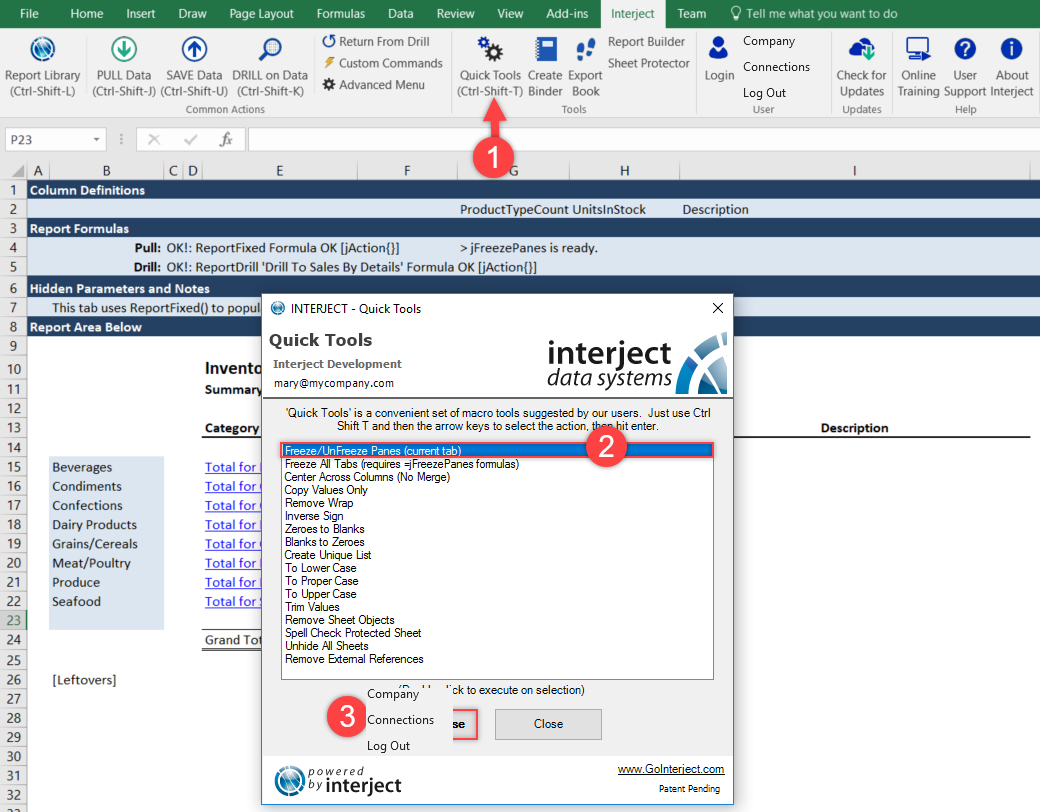
This will automatically freeze the panes to the pre-configured position.
And that is all there is to it. You have now modified the Inventory Report with an additional column and row.
Finally, clear the report and save the file to the Report Library "My Favorites" folder. (For detailed instructions on how to save a file to the Report Library, see here.)