Export: Workbook, Sheet, and PDF
Estimated reading time: 8 minutesOverview
The Export method is the simplest way of distributing. The purpose of Export is to build a new workbook, sheet, or PDF from the current workbook and remove all the external links and Data Cell formulas so users without Interject can view the report. It's important to note that Tabular Interject reports can be viewed immediately by users without Interject and do not need to be exported to be shared. Although Tabular reports use special report formulas, the formulas remain out of view for users without Interject, and any data pulled into the report are simply values. Outside users can view them without any modification.
If you are following the Training Labs, this report file can be found in the Report Library at Training Labs > Lab 7 Exporting Data > Lab 7.1 Quick Export and PDF.
Export Workbook
Interject features the option to export the workbook. This export process removes Data Cell formulas and external links from a sheet or workbook so users without Interject can view them.
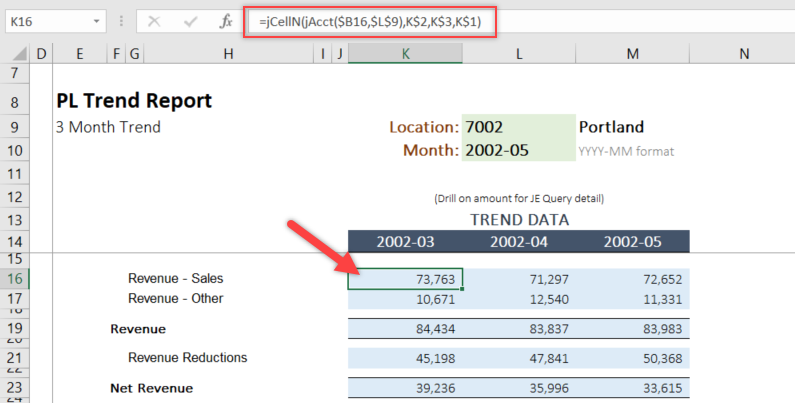
Take the report PL Trend Report with Data Cells from the Financial Walkthrough as an example. It is shown below.

Step 1: First, use the Pull Data operation to pull the report for Location 7002 and month 2002-05.
Note: Ensure that the Calculate Data Cells is checked.

Now you have the report to distribute. However, if you send this report with data cells, people without Interject will not be able to view all the Data Cell formulas like in cell K16 below. Without Interject installed that formula will show as #NAME.
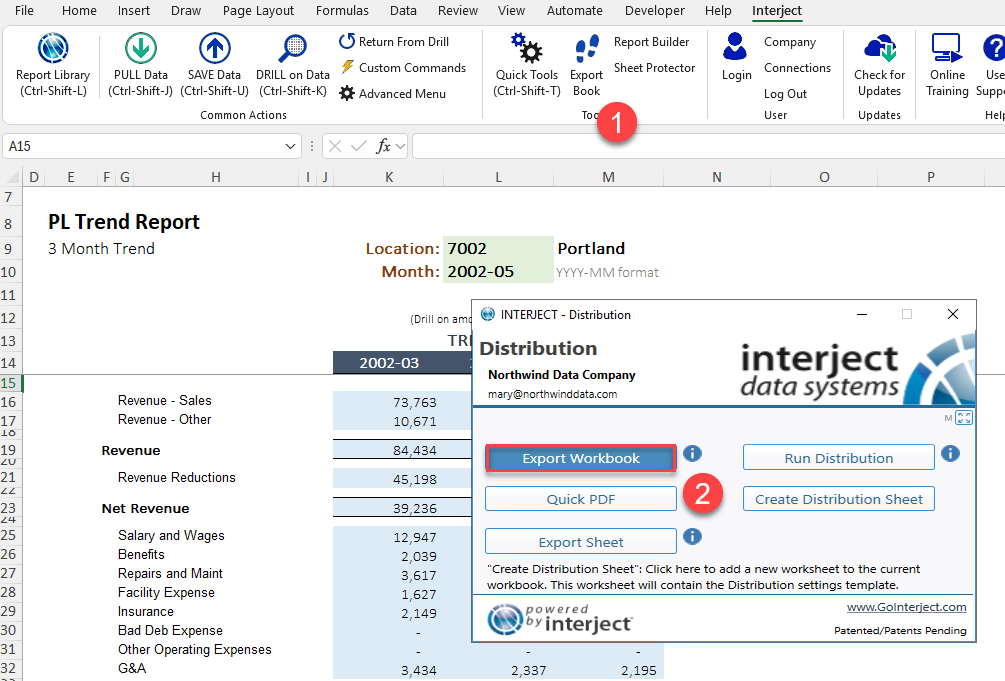
Step 2: To prevent this issue, you can use Export Book to create a new book and convert the data cell functions into regular values. Select Export Book and then Export Workbook.
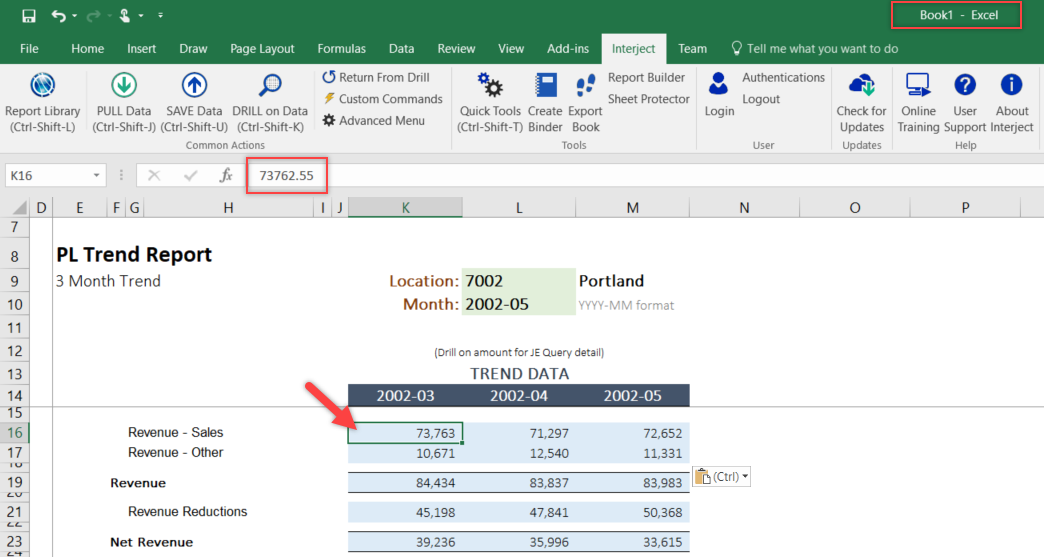
Once complete, the report will upload into a brand new workbook with fixed values instead of data cell formulas. This allows users without Interject to view the report.
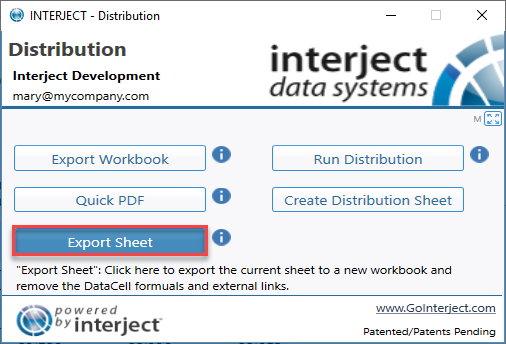
Export Sheet
The Export Sheet option does everything the Export Workbook but with two exceptions: 1) converts formulas to values and 2) only exports the current sheet.
In addition, the Export Sheet features allows you additional options to customize what is exported. It does this by utilizing the jRangeTag to set three settings:
- ExportSheetRange: Specifies the range to be exported
- ExportSheetExcludeColumnRange: Specifies a range where if a cell has the value of "Exclude", that column will not be exported
- ExportSheetExcludeRowRange: Specifies a range where if a cell has the value of "Exclude", that row will not be exported
This feature is handy when you want to export a report's data, while excluding certain columns or rows.
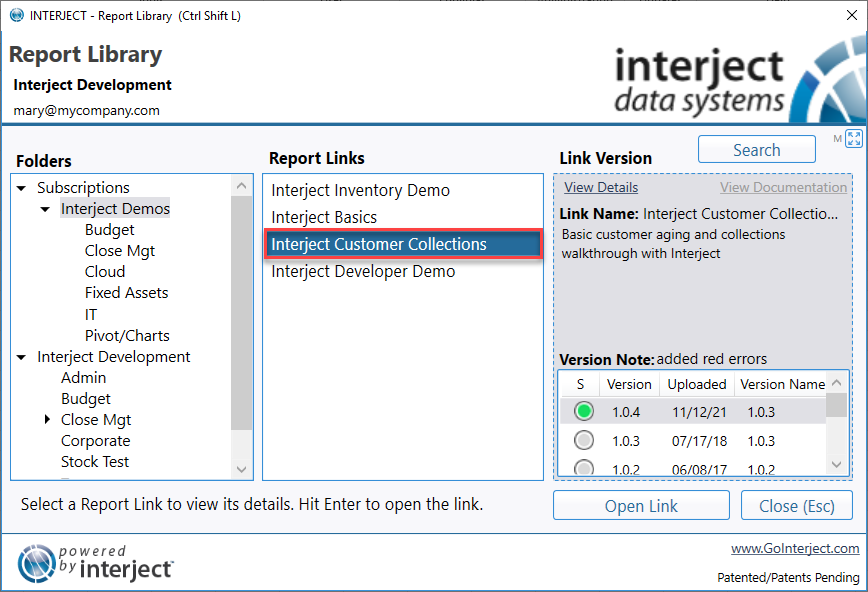
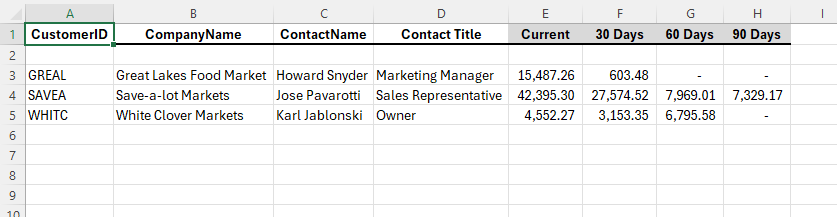
Step 1: Open up the Interject Customer Collections report:
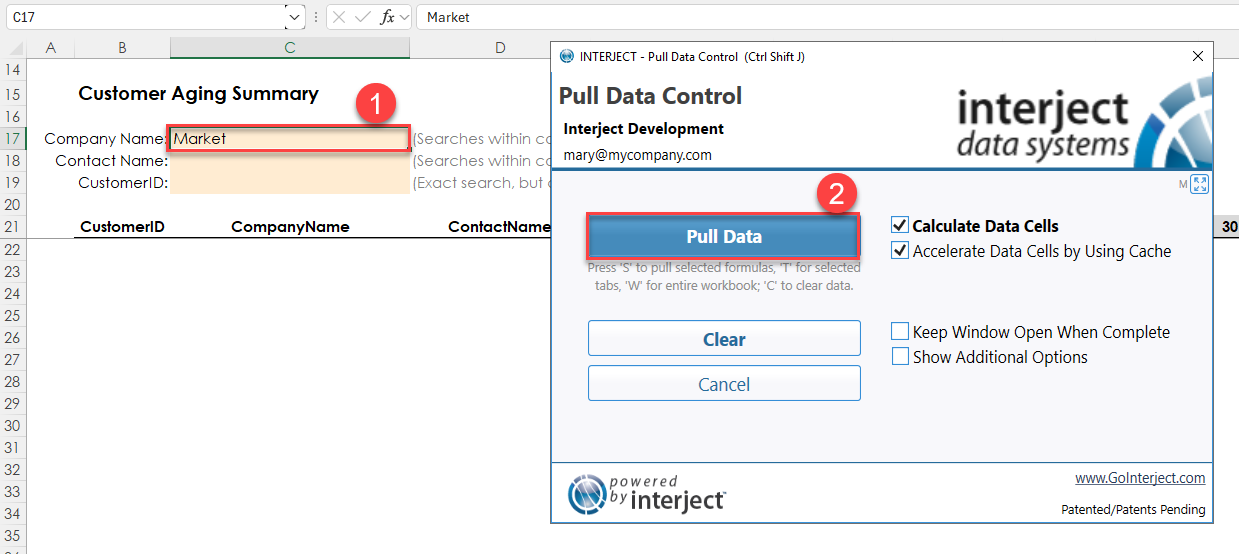
Step 2: Enter "Market" for the Company Name filter and pull the data:
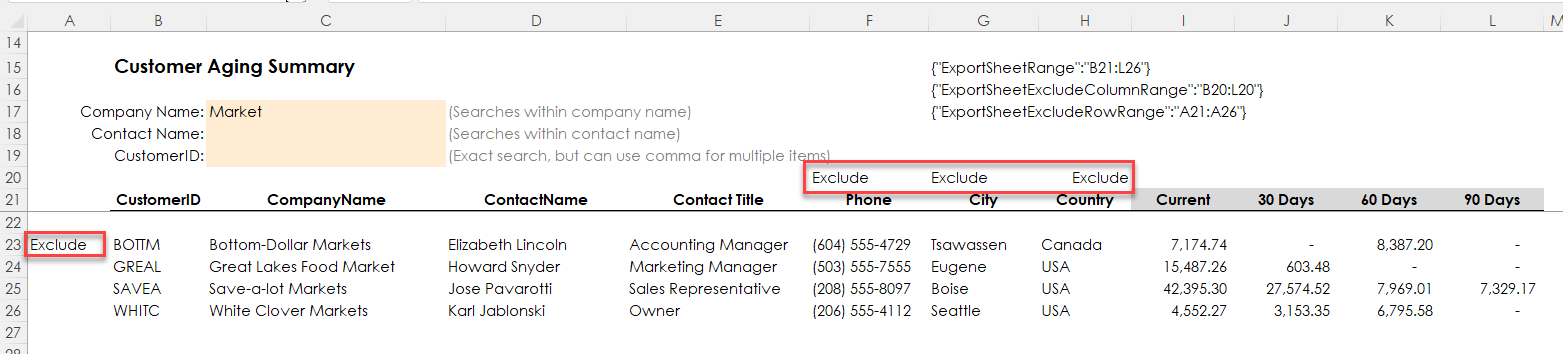
Step 3: In cell G15, enter the following jRangeTag formula to specify you want to export only the data in the report:
=jRangeTag("ExportSheetRange", B21:L26)
In G16, enter the following to specify the range Interject will look for values of "Exclude" to exclude columns:
=jRangeTag("ExportSheetExcludeColumnRange", B20:L20)
In G17, enter the following to specify the range Interject will look for values of "Exclude" to exclude rows:
=jRangeTag("ExportSheetExcludeRowRange", A21:A26)

Step 4: Now to exclude certain columns and rows, enter "Exclude" in cells F20, G20, H20, and A23:
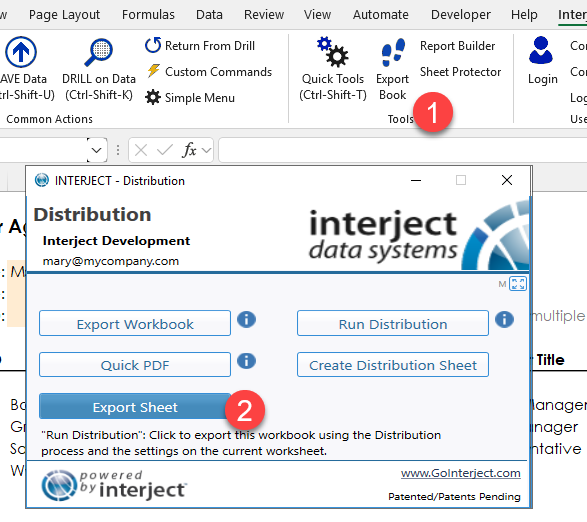
Step 5: Lastly, export the sheet:
Another workbook is opened up with just the one sheet exported. The excluded columns and row do not appear in the exported sheet:
Quick PDF
Exporting to PDFs from Excel has been available since Excel 2010 (and even with Excel 2007 as explained here). You will select this option and choose a folder in which to save the PDF. After saving, the PDF will open for review.
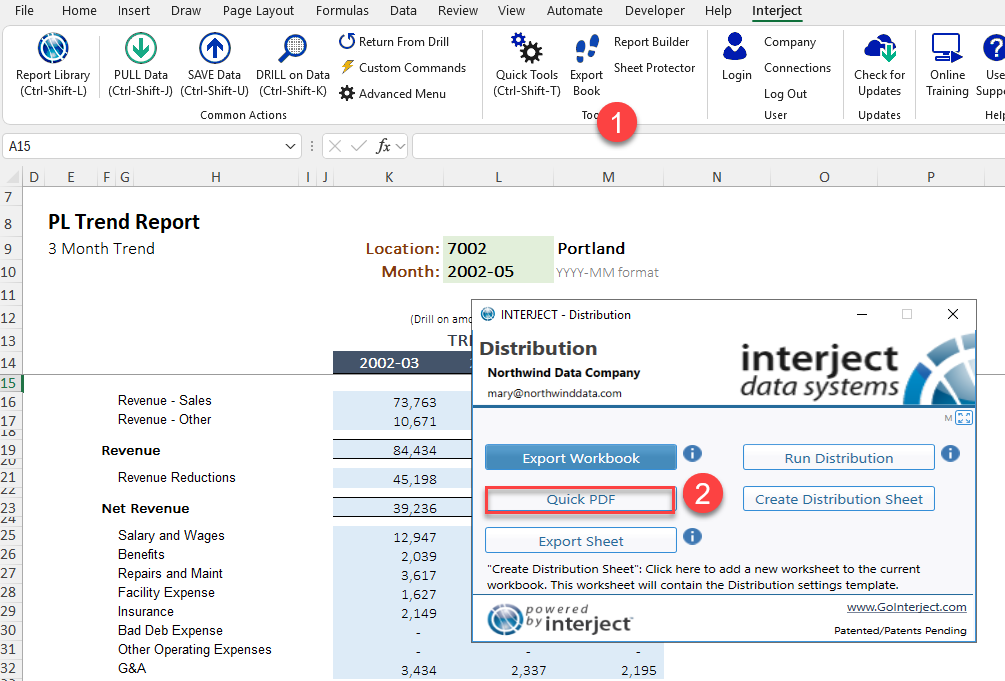
Step 1: Go back to the PL Trend with Data Cells from the previous section. You can again select Export Book, but this time follow up with the Quick PDF button.
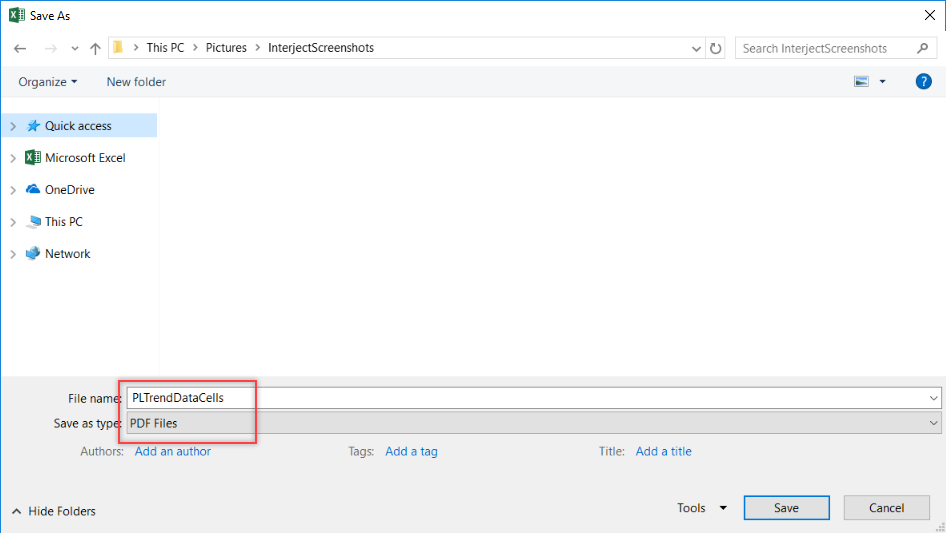
Step 2: When you export to a PDF you will be required to declare a save location.
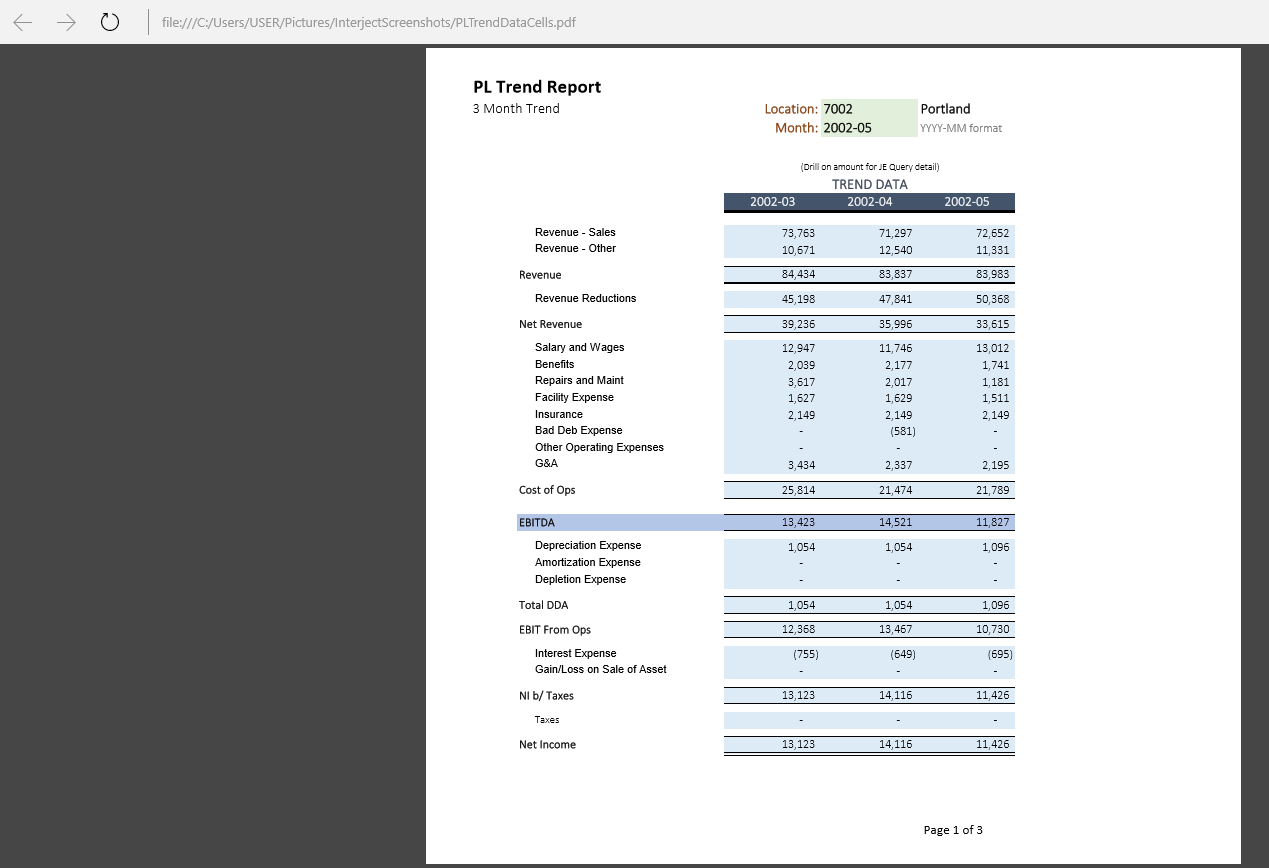
Step 3: The PDF opens in the default browser. The published file should look like the one below.
You have completed the quick exporting section. Continue on to learn about the Basics of Distribution.