Portal: Database Connection
Estimated reading time: 1 minuteOverview
A Data Connection can be set up to connect directly to a database using a OLEDB or a .Net Adapter connection string for MS SQL Server or using a ODBC connection string to connect to Oracle, MySQL, or others that support stored procedures.
Setup for a Data Connection to a Database
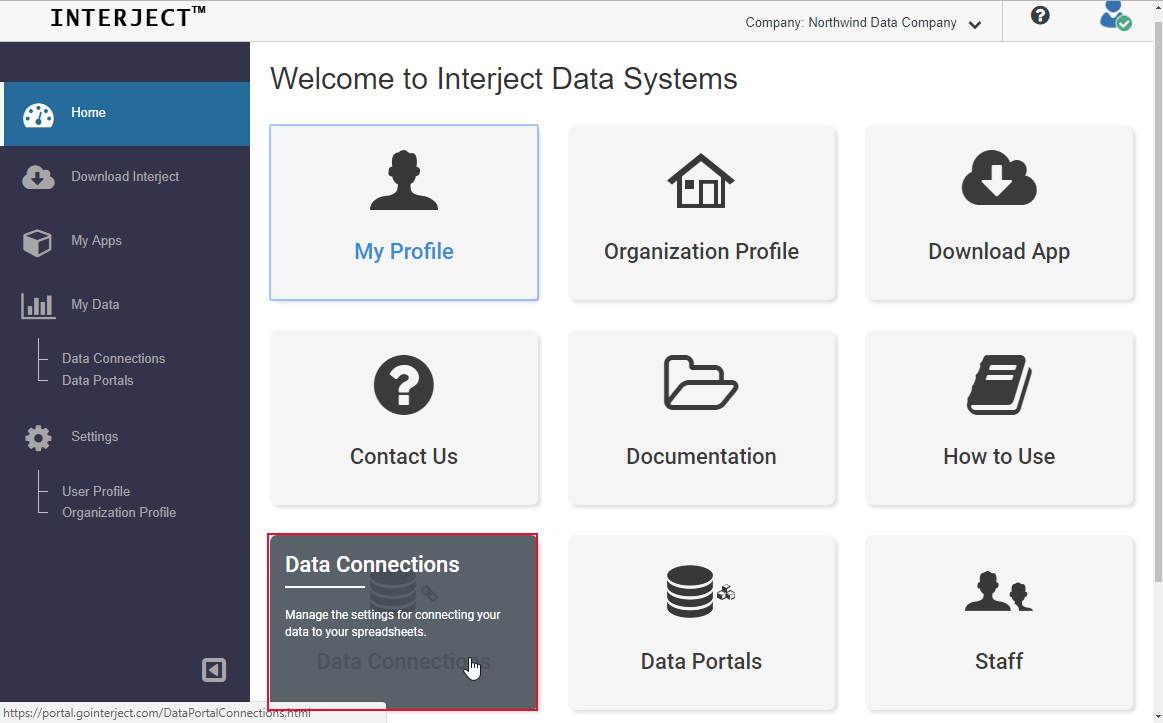
Step 1: Start off by navigating to https://portal.gointerject.com. Once logged in you can setup a data connection by clicking on the Data Connections icon.
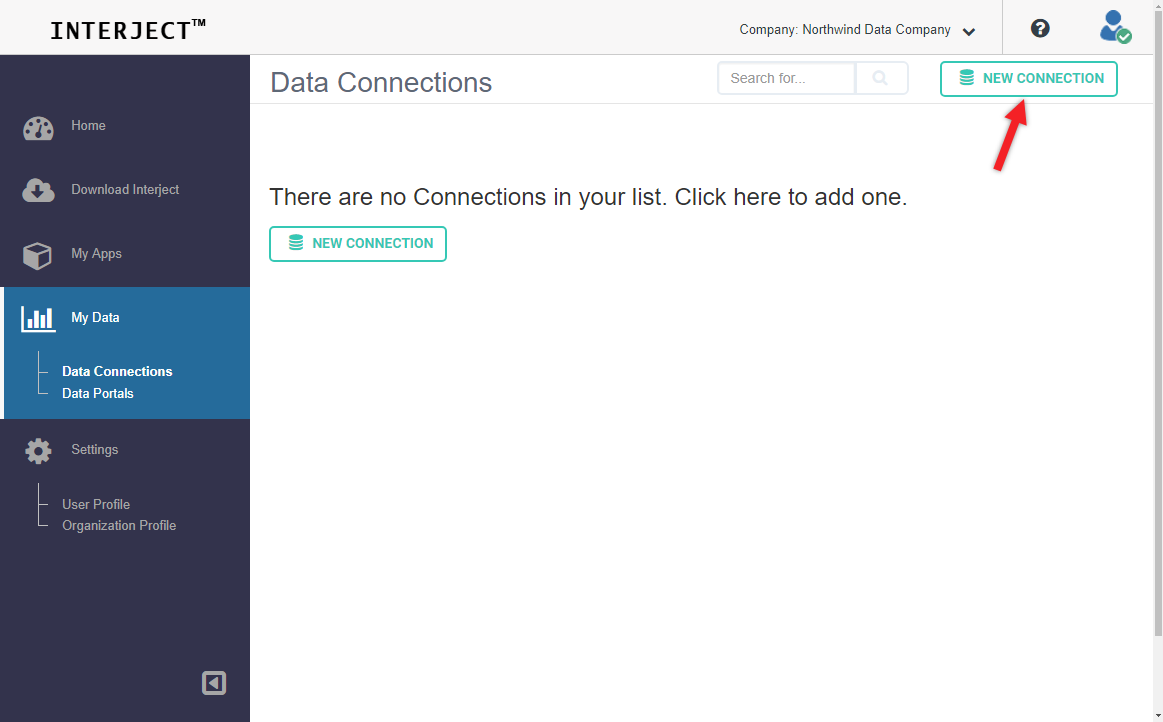
Step 2: In the Data Connections page select the New Connection button in the top right-hand corner.
Step 3: In the Connection Type field, make sure Database is selected.
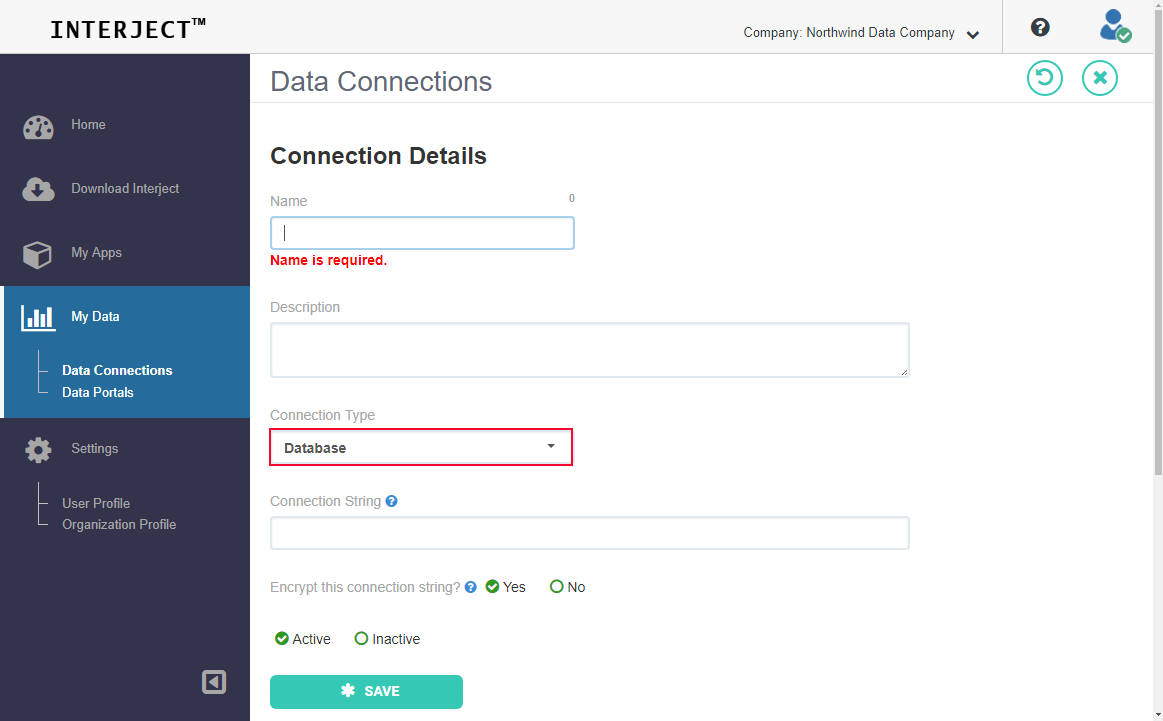
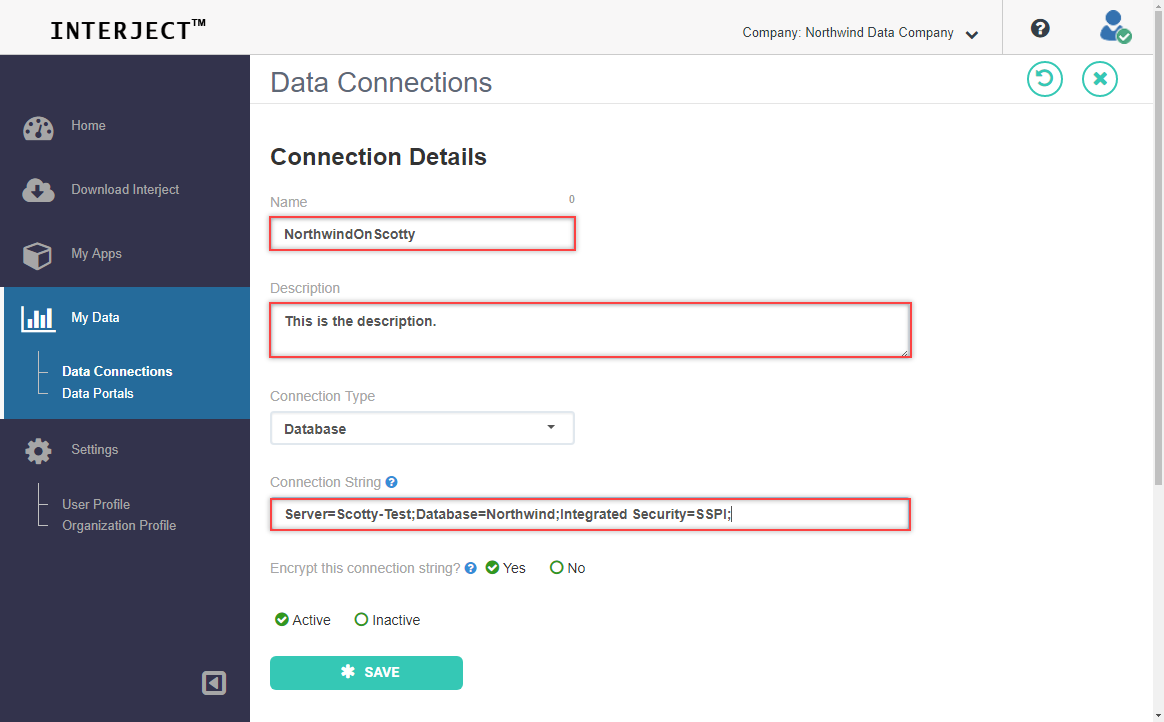
Step 4: The Connection Details page will contain the following information for the new connection.
- Name: A unique friendly name used when connecting a Data Portal to the Data Connection
- Description (optional): description of what the connection string is connecting to
- Connection String: used by Interject to connect to the specified server & database
Step 5: After adding the required information, click on the Save button to create the new data connection.
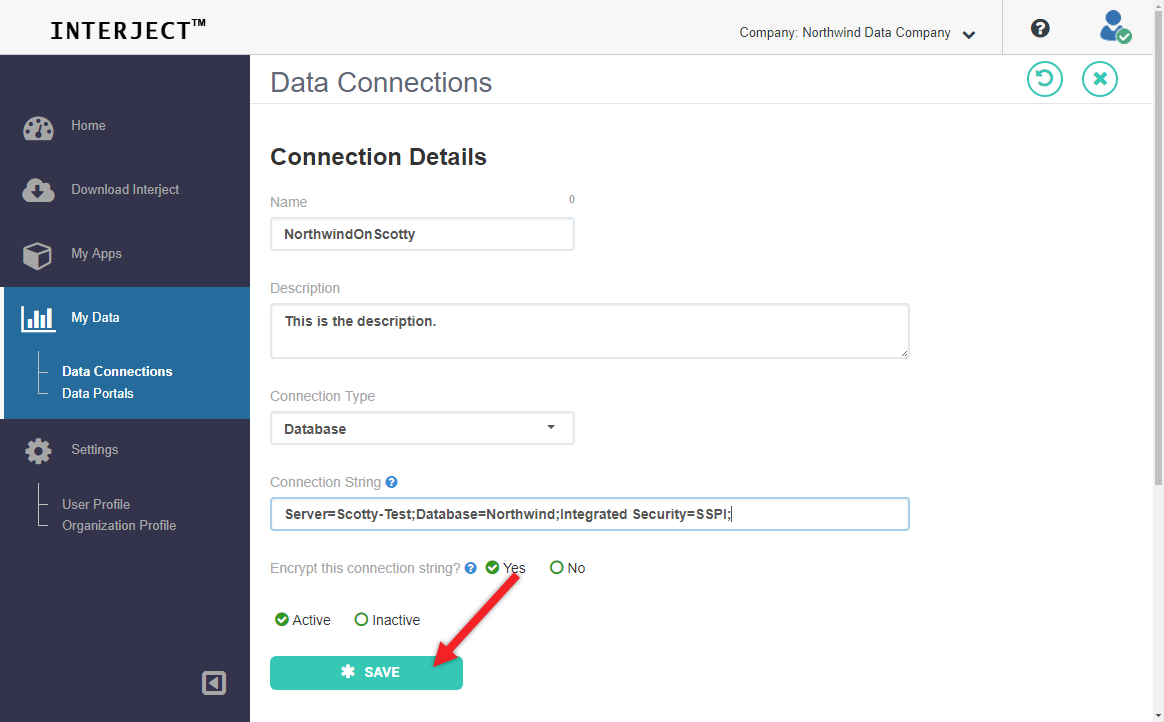
The Database Data Connection is now ready to be used in a Data Portal.
Testing the Connection String From Within Excel
Before setting up a Data Connection to a Database, you can verify that the connection can be established within Excel.
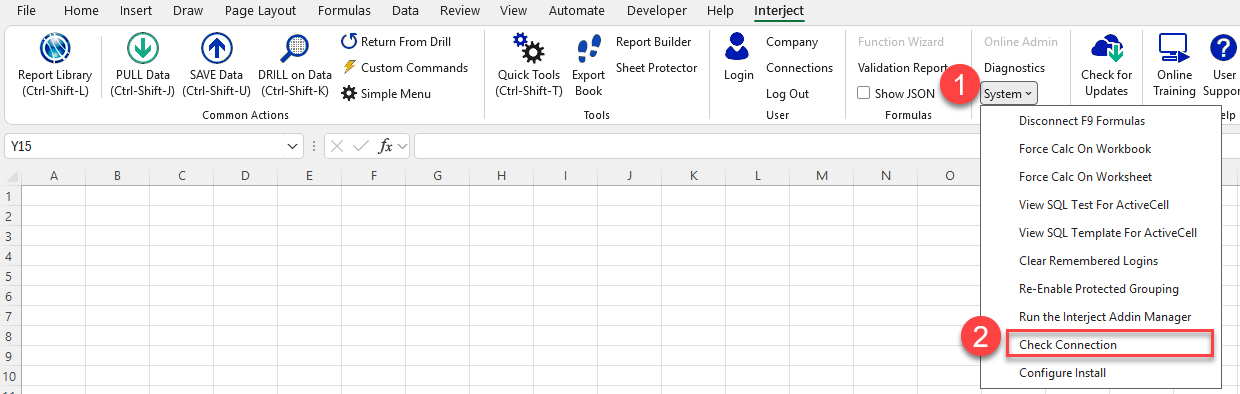
Step 1: With Excel open, go to the Interject Ribbon menu and click Advanced Menu (Skip this step if already at Advanced menu).

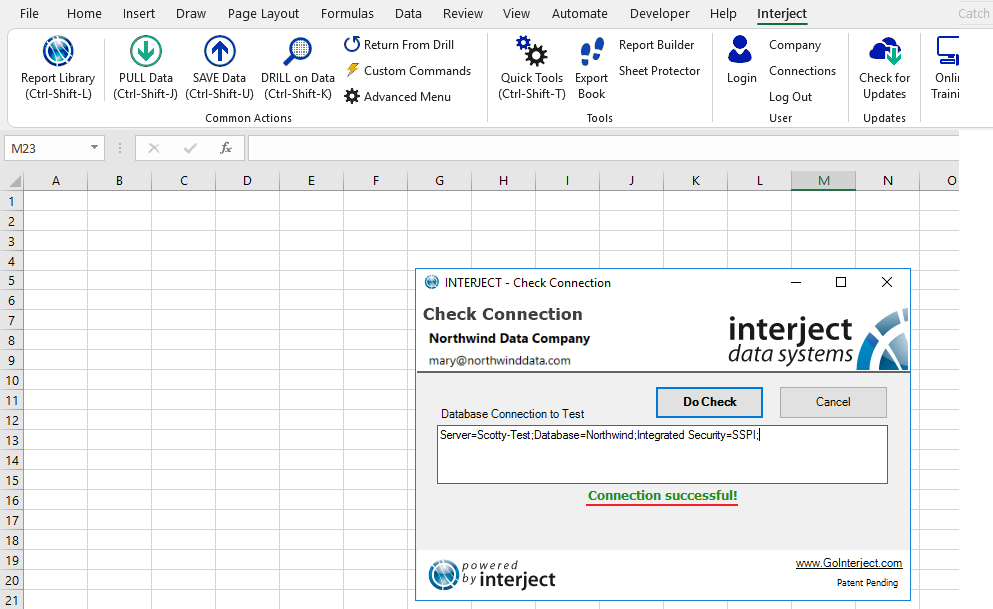
Step 2: Click System drop-down and select Check Connection.
Step 3: Paste the database connection string you will be using to configure the Data Connection into the text-box.

When the connection functions it will display a message such as the one below.