Modify: Customer Aging Report
Estimated reading time: 8 minutesOverview
Here, you will modify a report to show the total of invoices due from companies. You will filter for companies with the word Market in their name to keep the list short. You will build a Total column to receive the sum of each individual company's unpaid invoices. Once complete you will use these totals to build a Report total, which allows us to see all invoices due.
If you are following the Training Labs, this report file can be found in the Report Library at Training Labs > Lab 2 Modifying Reports > Lab 2.2 Customer Aging.
Opening the Report and Pulling Data
Step 1: Use the Report Library to find the Customer Aging Summary titled Interject Customer Collections.
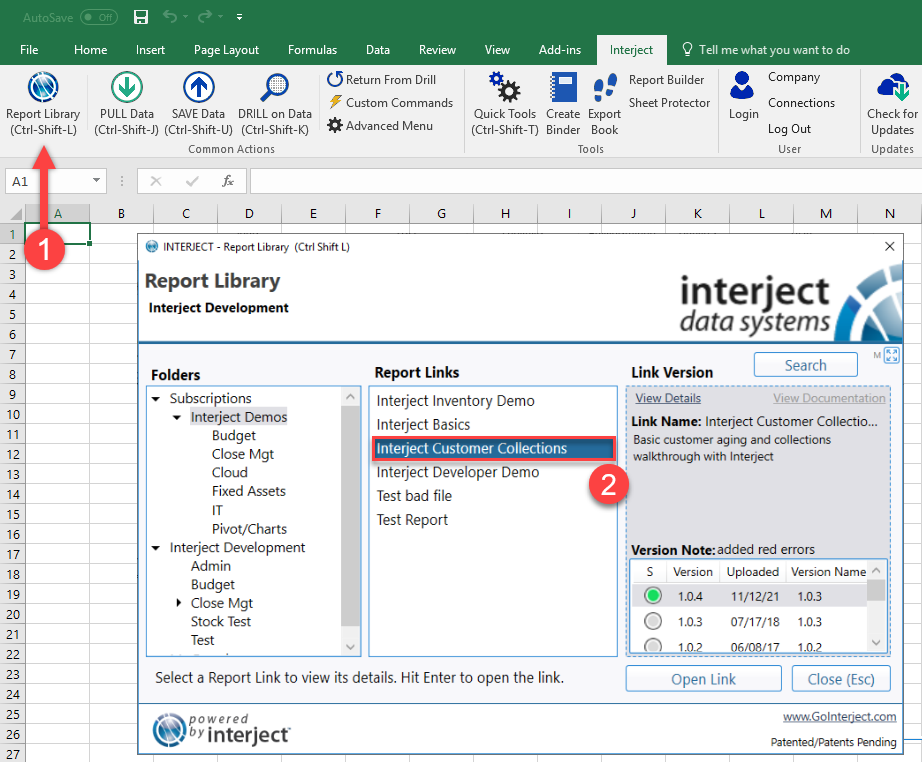
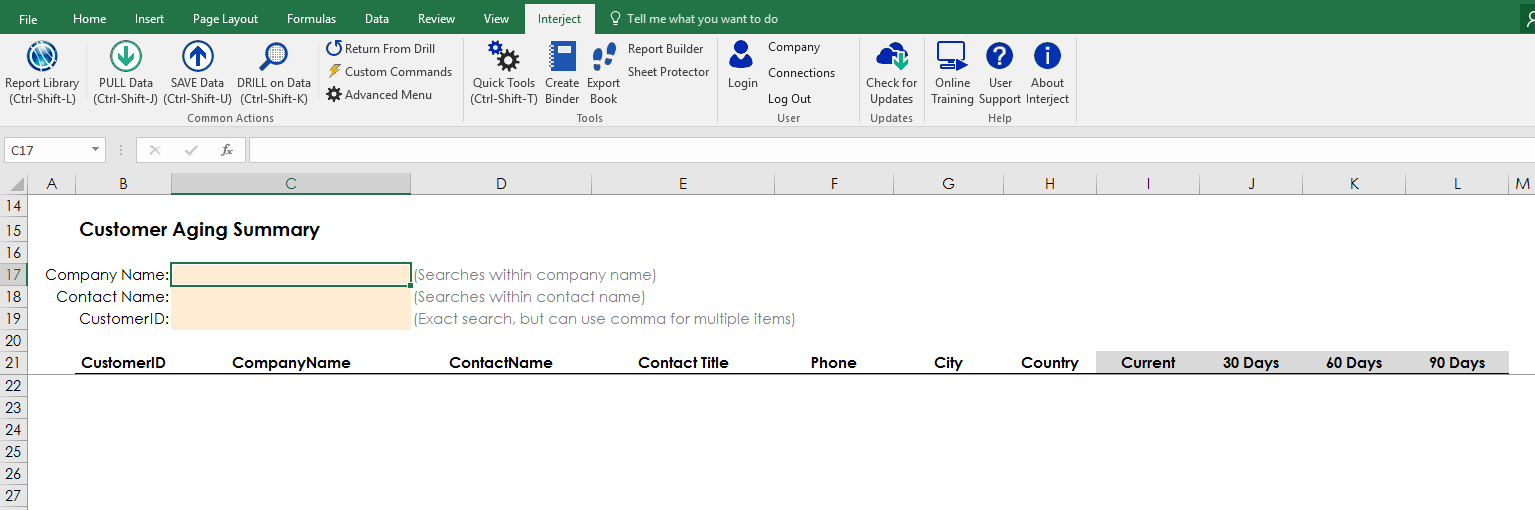
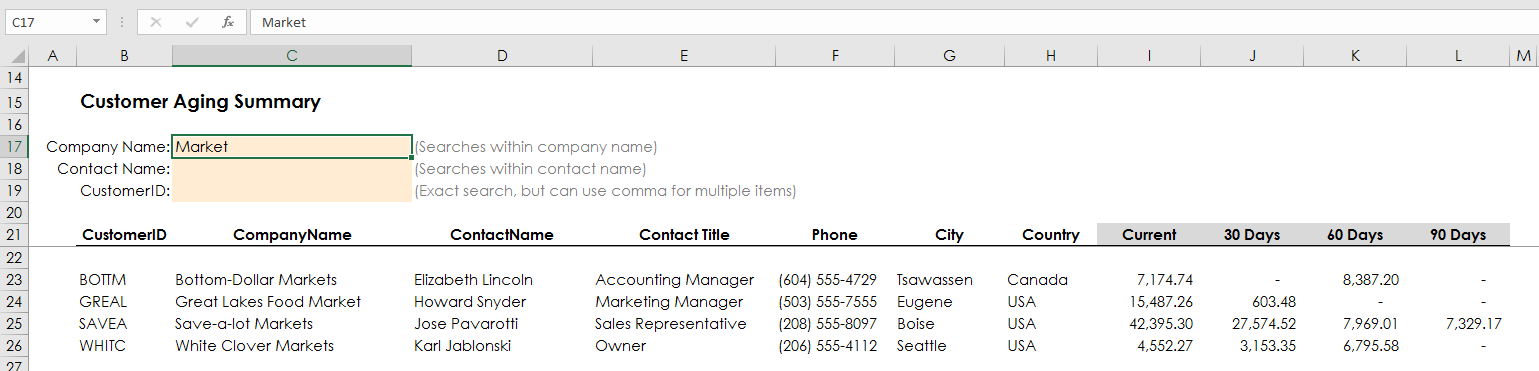
Once open, it should look like this:
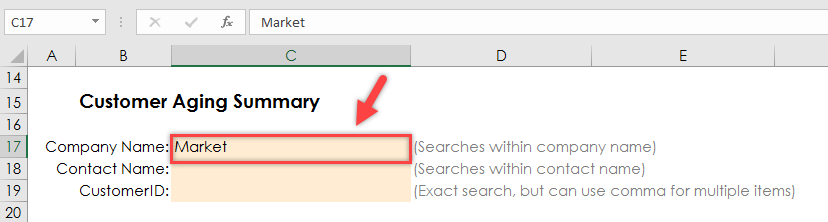
Step 2: Type Market in the Company Name field.
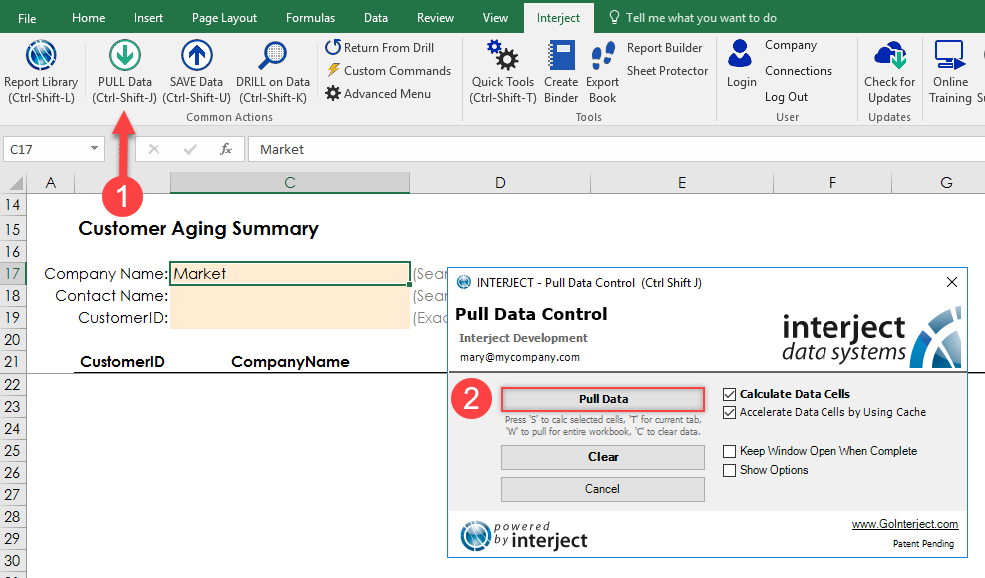
Now run the Pull Data, which will pull the invoice data for all companies with the word Market in their name.
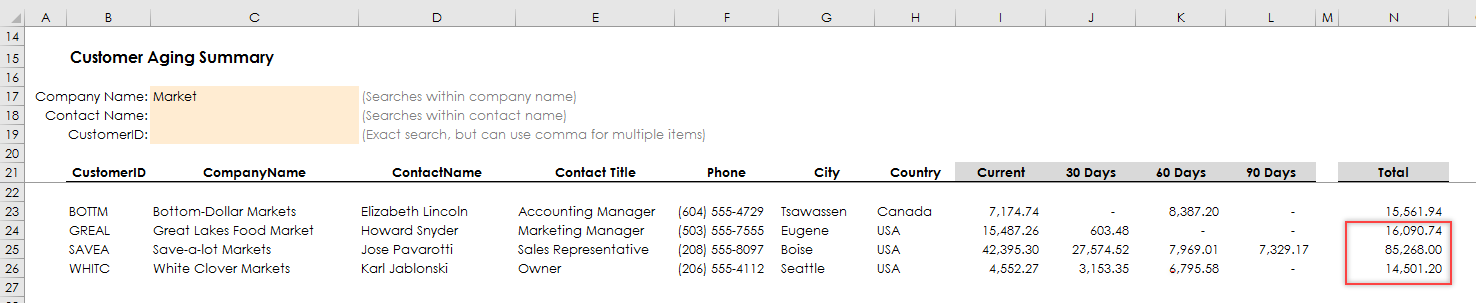
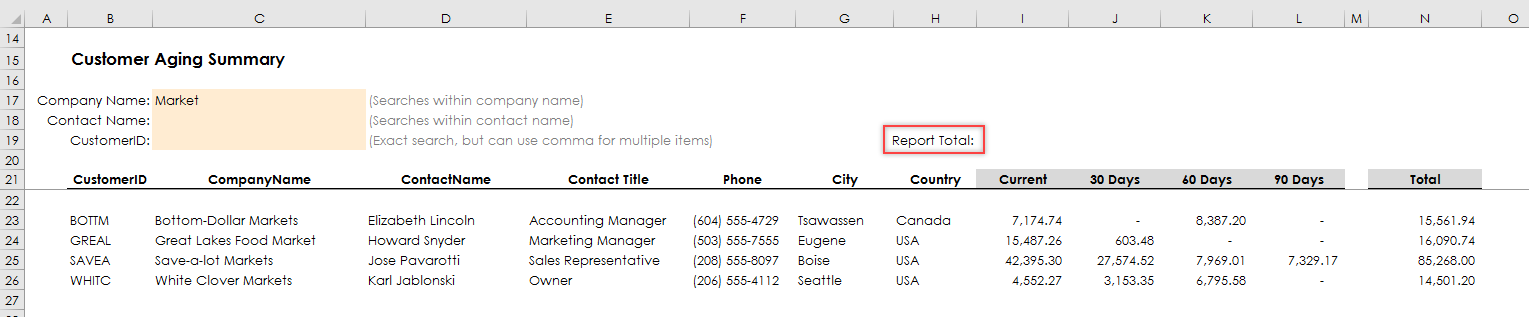
Once it is populated with the data, the report should look like the image below.
Creating a Total Column
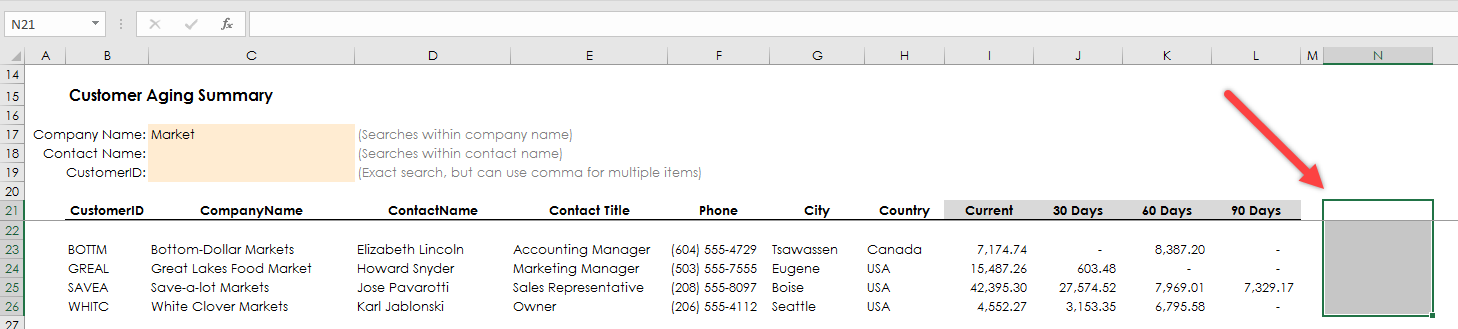
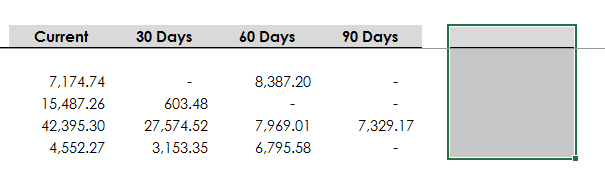
Step 1: In order to add a Totals report, you need a column to accept the data. Here you will add it at the end, after the 90 Days column.
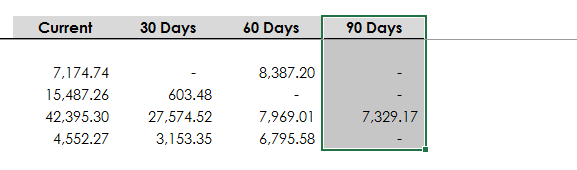
It is easier to copy the format used for one of the existing columns, then paste it to the new Total Column. To accomplish this, select the 90 Days column.
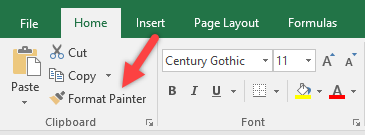
Then select the Format Painter in the Home Ribbon.
Step 2: Once you are prepared to copy the format, select the columns you want to total. Make sure to select the same number of rows used in the rest of the report. Once the format has been copied over add the column name Total.
Before:
After:

Now that the report is formatted for the new data, you need to add formulas for calculating the total values.
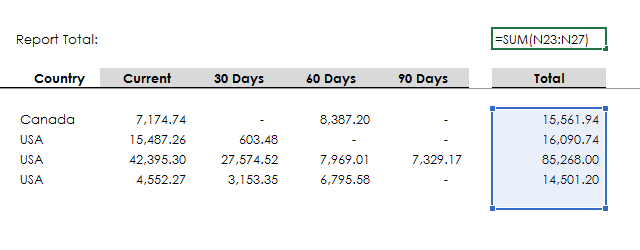
Step 3: In this instance, you are going to write a SUM Formula to get our totals. A simple example of this formula is shown in the image below.
Note: This report is setup to place data starting in row 23, and that same row is considered the Formatting Range. You must put the formula on this row to be copied down with the data.
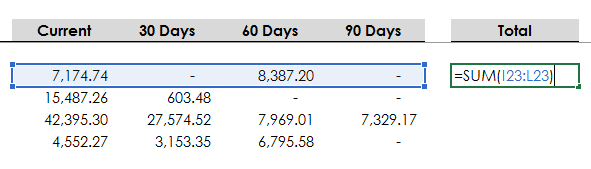
Remember to include the = in our formula, otherwise Excel will simply read this as plain text. I23 tells Excel where the first column value is, and L23 designates the last value. The colon represents all the cells in between. When we have this written out, our Excel sheet shows where we will be summing values.
Step 4: Instead of copying this formula to each row once step 3 is completed, pull the entire report again.
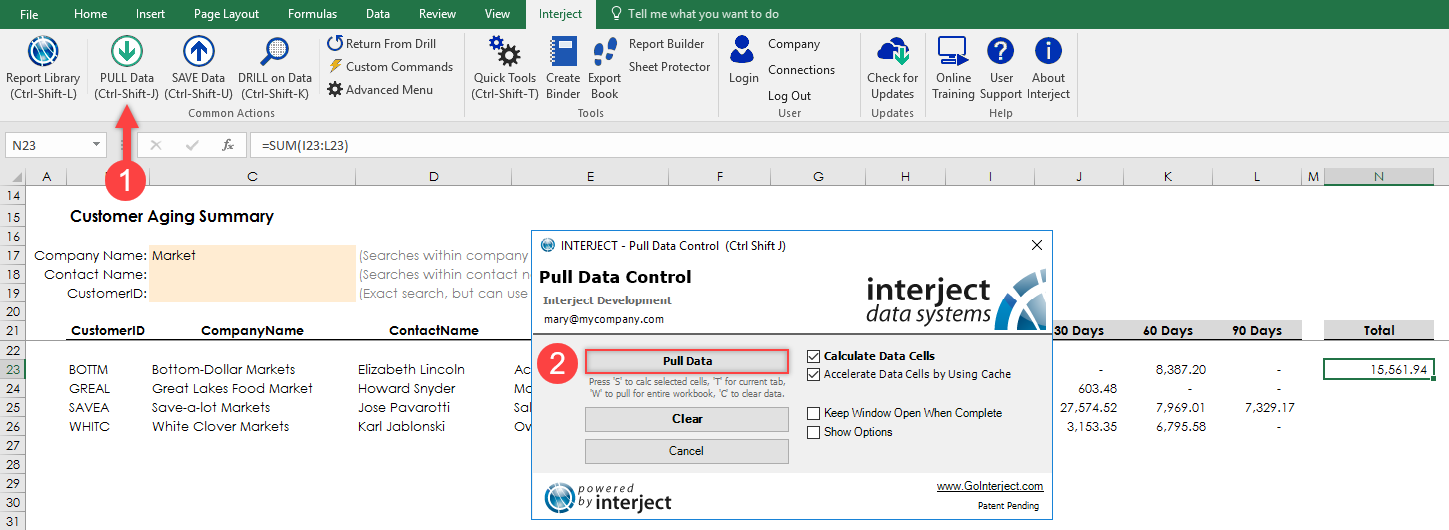
Notice that when you pull the data, the new formula is applied to all the new rows.
Creating Totals on Top of the Report
Step 1: For this example, you need more than just the individual totals; you need a Report Total of these invoices. To build this, you have to add more SUM Formulas. You will format the cells above the table, making it clearly visible. To do this, select cell H19 and label it Report Total:.
Step 2: Once you select the cell you want for the Report Total, write a formula for the total column. Make sure to select all the way down to the anchor row, which is one row below the existing data. This anchor row will always be the row below the data and is needed for the Report Function to work correctly.
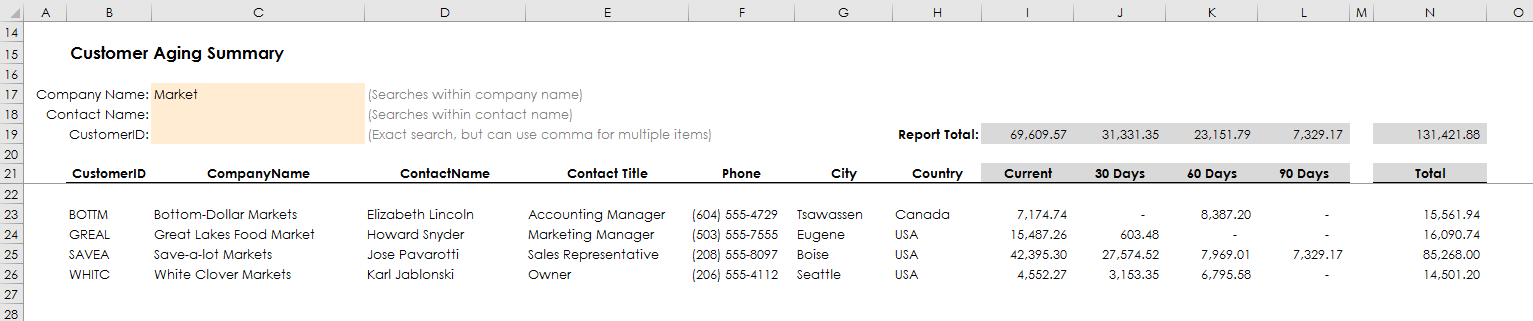
Step 3: Once the Total column is done you can copy the formula to the left until you reach Current. Once the paste is complete, we can view the Report Total for each column.
Step 4: To remain consistent with other formatting, shade the Report Total row gray.

Step 5: When the formatting is done, the report should look like the screenshot below.
By clearing and re-pulling, you ensure that the changes worked.
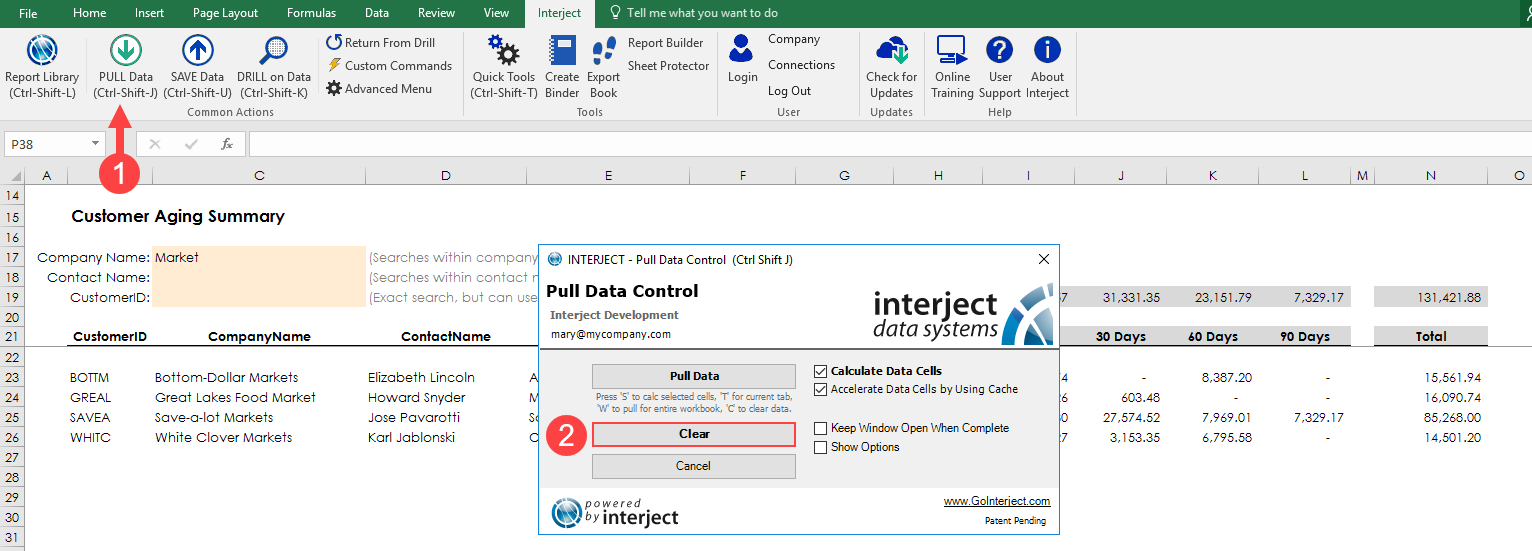
You can see in the screenshot below that even though you cleared the report, the formula is still there in cell N23.

Step 6: Once the report has been cleared, re-pull the report.
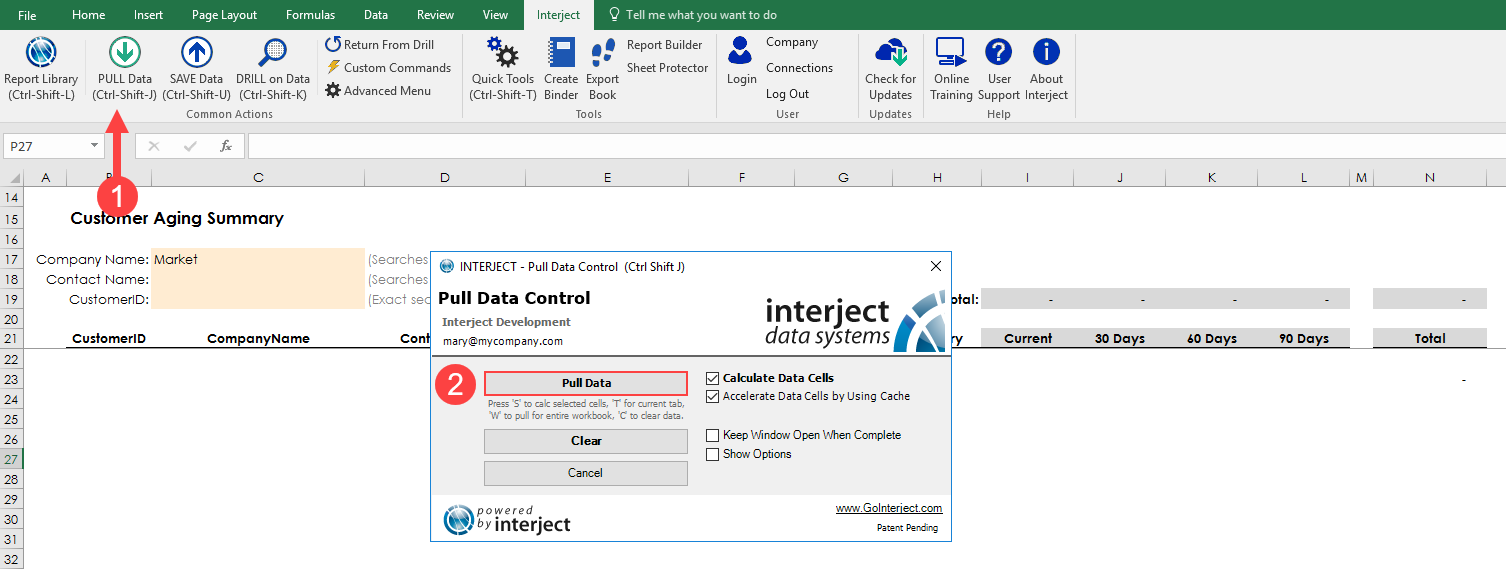
The report is complete, you have added a total for each client and a summary total on the top by column.

Finally, clear the report and save the file to the Report Library "My Favorites" folder. (For detailed instructions on how to save a file to the Report Library, see here.)