Installing - Shared Computer
Estimated reading time: 6 minutesOverview
Shared Computer installation installs a multi-user instance of Interject on one computer, such as a shared server. Since Interject's Addin Manager is used to manage independent settings for multiple users, this installation is dependant on the Addin Manager. In order to run Per-Computer installation, you must have administrative-elevated rights.
Installing Interject on Multi-User Systems
Step 1: Log in to the Interject website portal. If you do not have an account you can request one here.
Step 2: Once logged in, go to the download page.
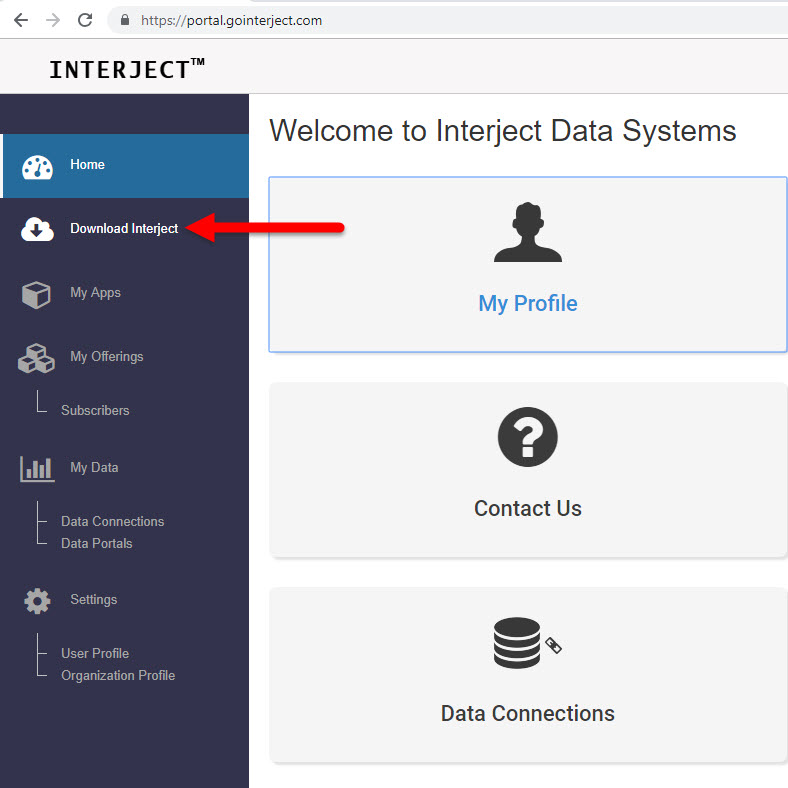
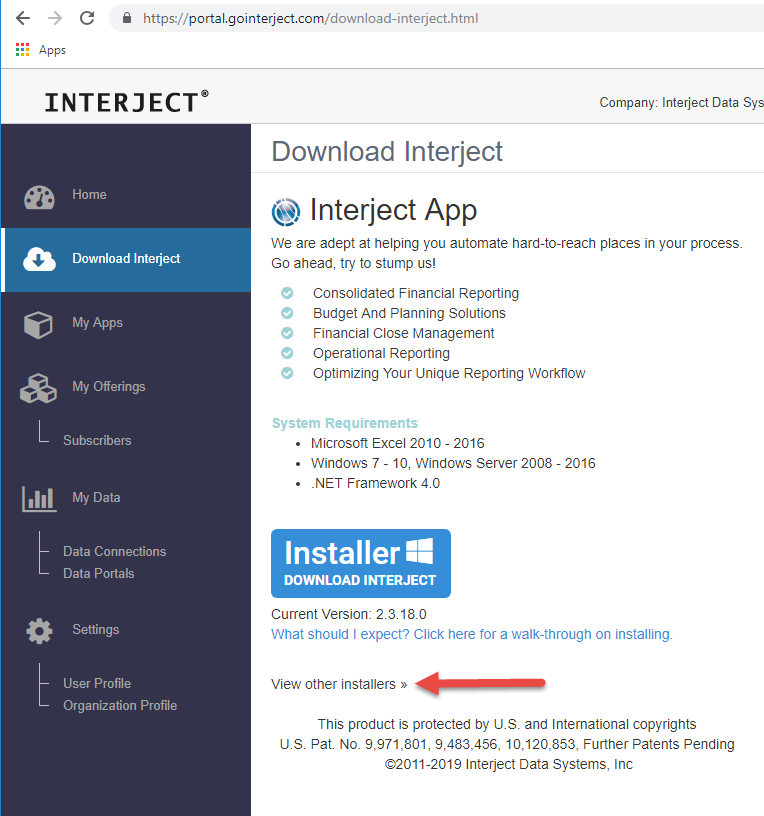
Step 3: Click View other installers. (For detailed information, see Download Interject).
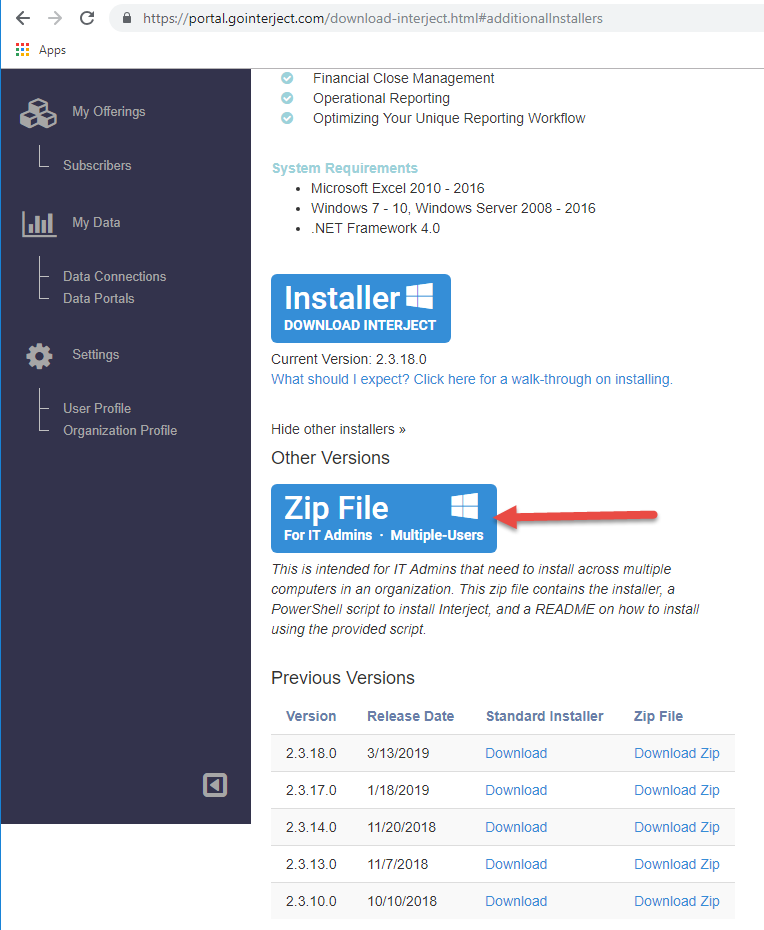
Step 4: Click the Zip File for IT Admins Multiple-Users option. (Admin privileges are required for this install.)
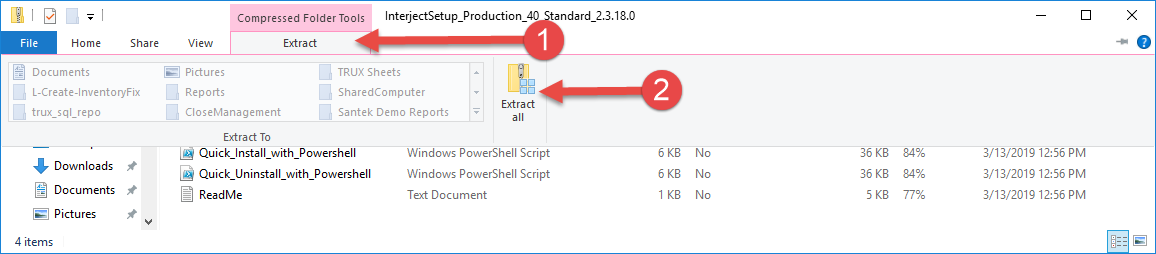
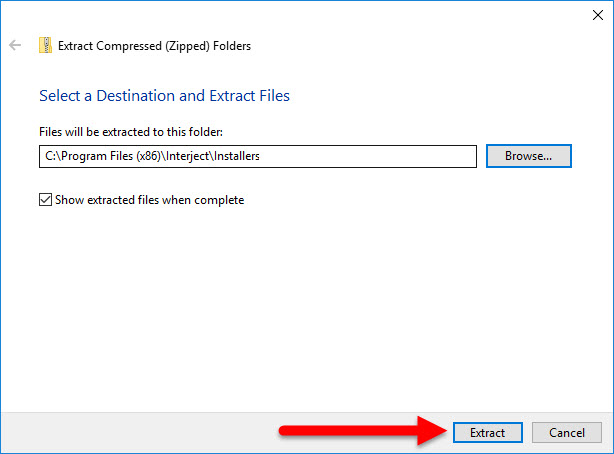
Step 5: When the download is complete, extract the zip file.
Step 6: Determine your Destination folder.
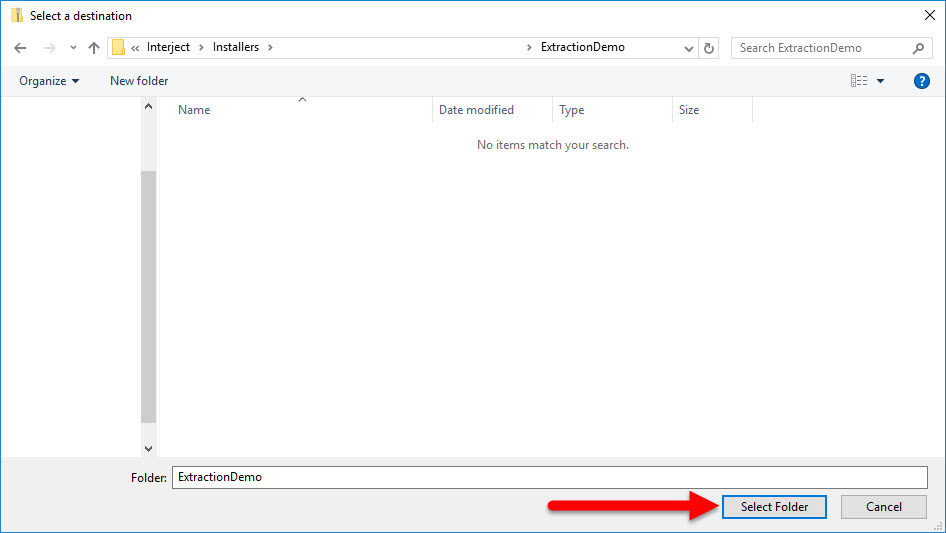
Step 7: Confirm your destination folder.
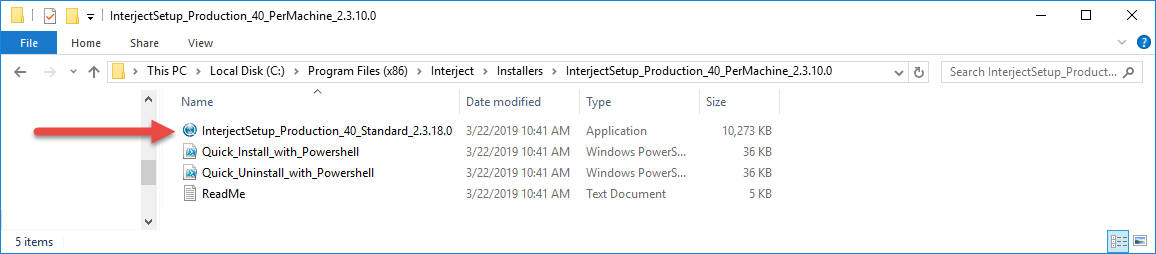
Step 8: Navigate back to your extracted zip folder and run the InterjectSetup_Production_40Standard[version].exe file as an Administrator.
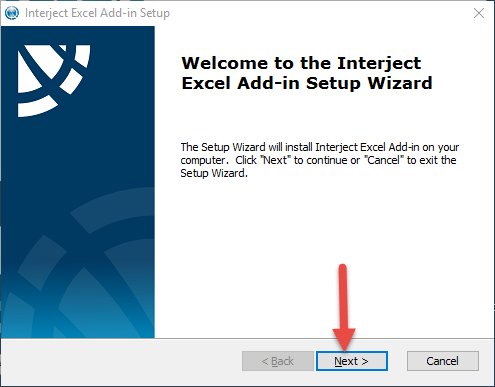
Step 9: Select Next when the Interject Excel Add-In Setup Wizard launches.
Step 10: Read and accept the End-User License Agreement and select Next.

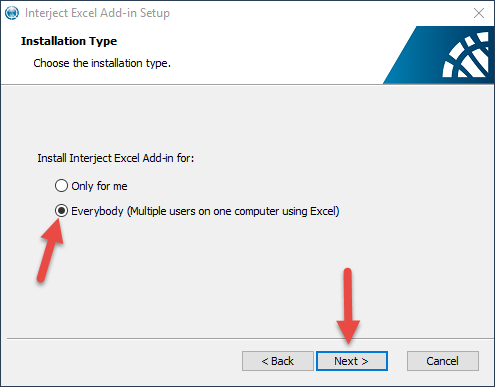
Step 11: Two options will be available when installing on Windows Server.
- Install as 'per-user' (current user)
- Install as 'per-machine' (everybody)
To install for everybody on the server, make sure the Everybody button is selected then click Next.
Note: Other Install features are available. For instructions on advanced installs, click on the readme located in the ZIP file or refer to the text file in the dropdown below.
--------------- Advanced Installation by the Command Line --------------
The installer can be run silently from the command line by targeting the InterjectSetup_Production_40_Standard_[version].exe file. This will install as 'per-machine':
-Run the Command Prompt as administrator.
-Update the path so it targets the .exe file.
 C:\[Path_To_Exe]\InterjectSetup_Production_40_Standard_[version].exe /i // /qn ALLUSERS=1

key:
/i = install -or- /x = uninstall
/qn = quiet mode
// = Used by Advanced Installers .exe file to automatically replace with <path_to_msi>.
ALLUSERS = installs as 'per-machine' when set to 1. set to 0 to install as 'per-user'

to uninstall use a similar command with /x: (point to the .exe file of the current installation)
 C:\[Path_To_Exe]\InterjectSetup_Production_40_Standard_[version].exe /x // /qn ALLUSERS=1

--------------- Installation Logs --------------------------
Advanced Installer is the technology used to create the installer.
To see the install log (generated by the Advanced Installer InterjectSetup_Production_40_Standard_[version].exe), run the install command with an additional parameter /L* from the command line:
(update the path to the exe and also where to save the install log)
 C:\[Path_To_Exe]\InterjectSetup_Production_40_Standard_[version].exe /i // /qn /L* "C:\[Path_To_Exe]\install.log" <!--should the second "path_to_exe" bracket be "path_to_save" or something like that?-->

Add-In-Express is the technology used to register the application as an Excel Addin
To see the Add-In-Express install log, go to this file: (update the path for the current user)
 C:\Users\[UserName]\AppData\Local\Interject\App\adxregistrator.log
 or here (for per-machine install):
 C:\Program Files (x86)\Interject\adxregistrator.log
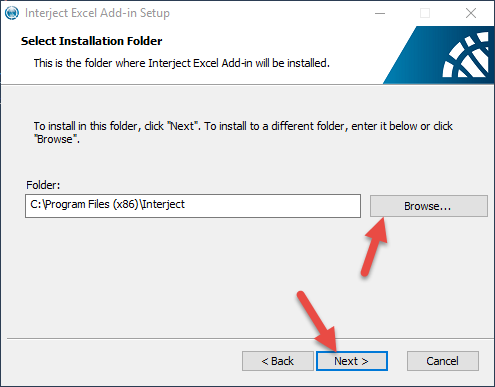
Step 12: Select the desired install location by clicking Browse…. By default a folder will be made inside the Programs (x86) folder.
Hit Next once the location is selected.
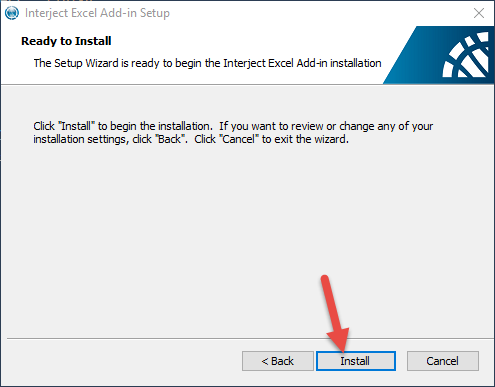
Step 13: Click Install to begin the install process.
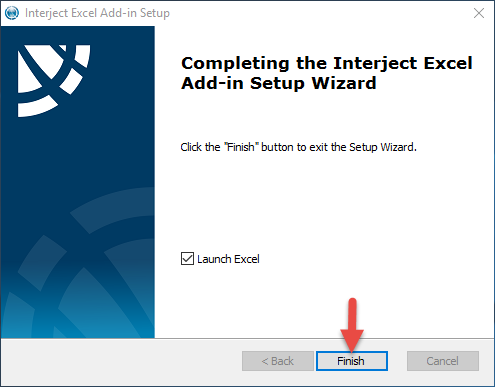
Step 14: Click Finish once the setup wizard tells you the installation is complete.
Click here for login information
If you run into any issues, email us at help@gointerject.com.
File Locations
The following are the file locations for Interject for a Windows Server install:
- Application: C:\Program Files (x86)\Interject\
- File Cache: AppData\local\Interject
- Config & Auth: AppData\roaming\Interject