Export: Advanced Distribution
Estimated reading time: 13 minutesOverview
There are a number of different options available for distributing reports as well as naming workbooks and individual sheets. In this example, you are going to explore some of the more advanced methods.
If you are following the Training Labs, this report file is continued from the previous lab: Training Labs > Lab 7 Exporting Data > Lab 7.2 Basic Distribution. Note: The Report Library at Training Labs for this lab will be blank.
Custom Tab Renaming
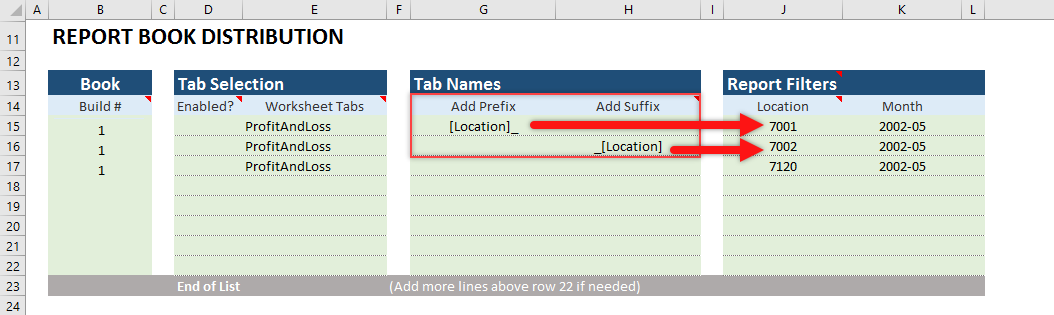
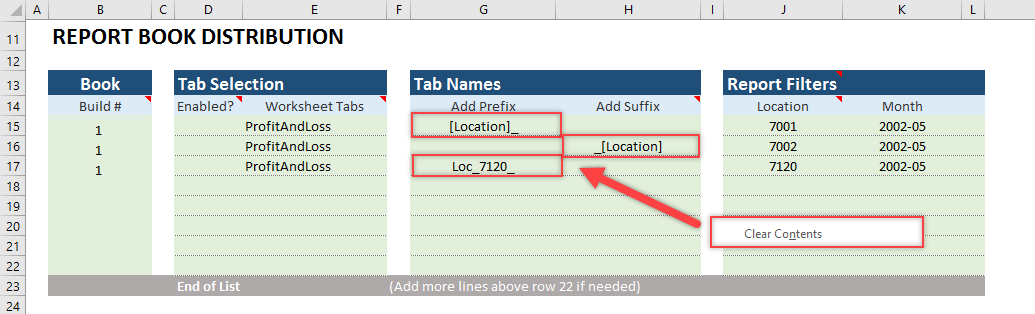
Step 1: You will add [Location] as a prefix and suffix for the Worksheet Tab names. Type [Location]_ in cell G15 and [Location]_ in H16. The underscore _ was added to the text to allow a spacer between the original tab name and the location value. The end result is that the tab names will be modified as they are created so they match the location they represent.
Prefixes and suffixes can use the values in Report Filter columns so they do not have to be manually typed. In addition, you can use values that are set up in Global Variable Definitions, which will be covered later.
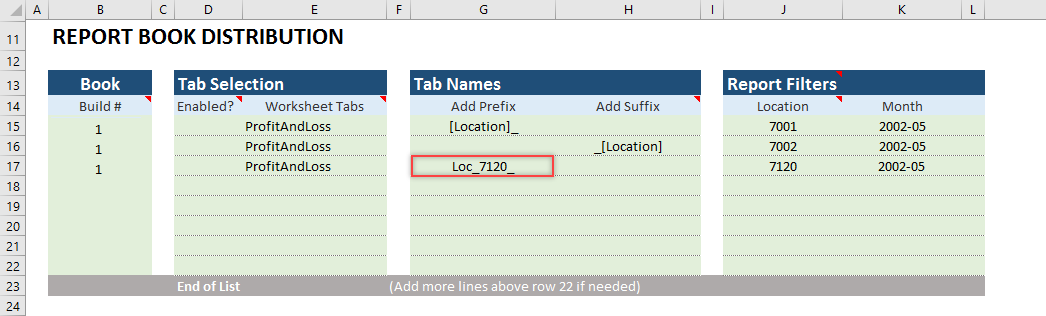
Step 2: You can also type prefixes or suffixes manually, which is shown below. Enter Loc_7120_ in cell G17.
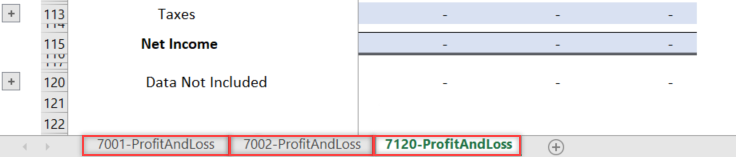
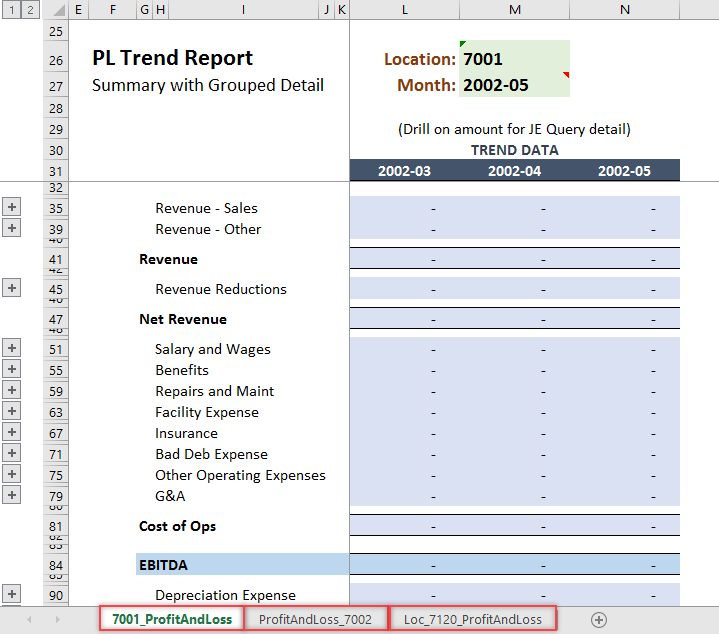
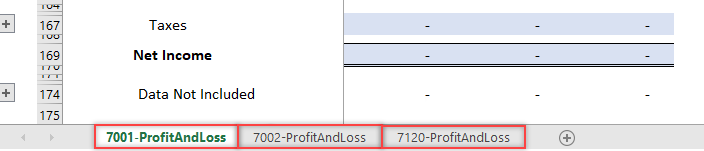
When the distribution is executed, the tabs should look like the image below.
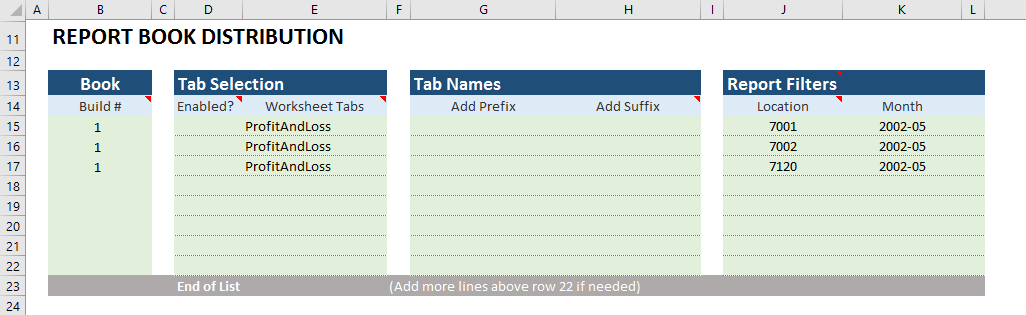
Step 3: You can also change the tab name itself, not just add a prefix and suffix. To do this, go back to the distribution worksheet and clear the tab names prefix and suffix.
Once you clear the Tab Names columns, it should look like the image below.
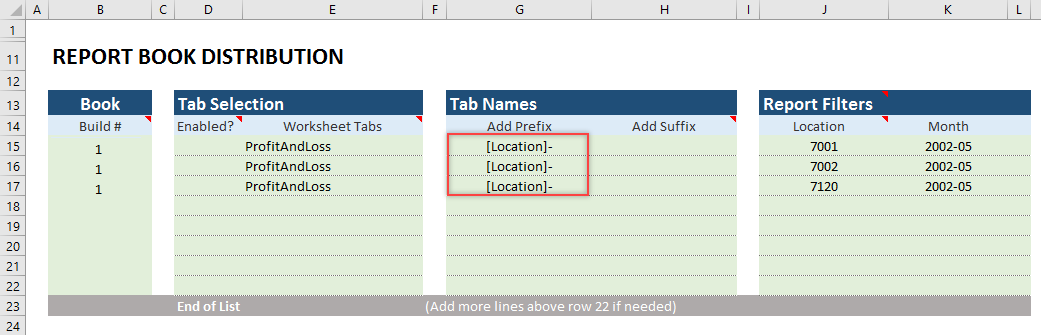
Step 4: Add more practical tab names using a prefix of location that uses a hyphen as a spacer. Type [Location]- in cells G15, G16 and G17.
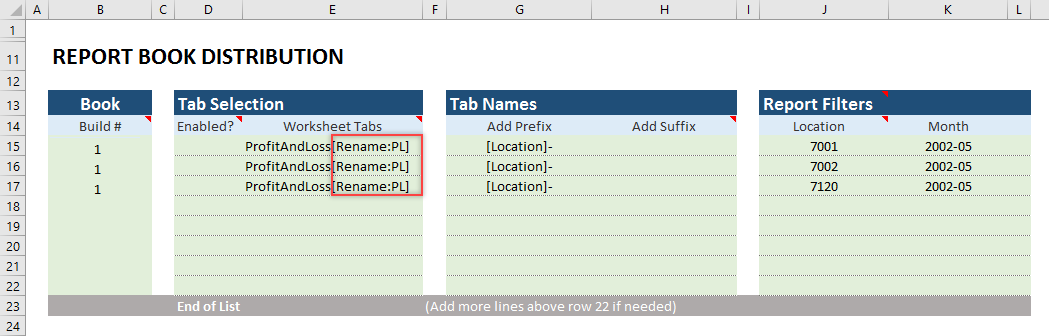
To rename the original tab name, you need to go to the Worksheet Tabs column. At the end of the name in each of the rows 15 through 17, [Rename:PL]. This will tell the distribution process to rename the original tab name to PL.
The resulting distribution looks like this:

Step 5: If you want to add the month to the tab names, you can use the Add Suffix column. Type -[Month] in cells H15, H16 and H17 as shown below.
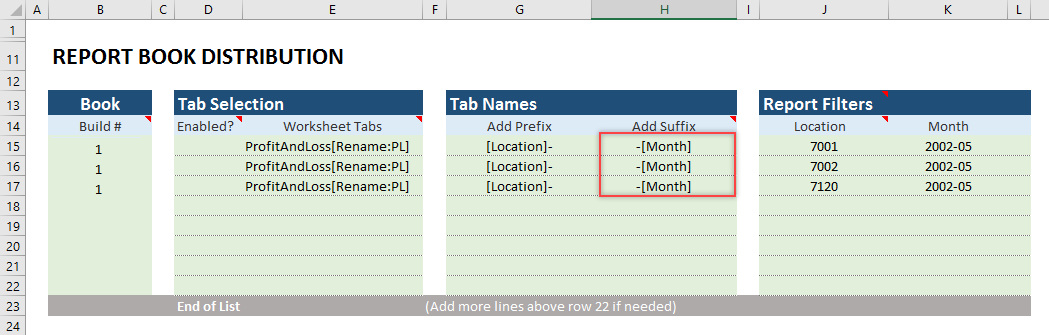
When you are finished, the distribution should appear like this:

Replacing Keywords Dynamically
The distribution process allows for global variables that can be used in defining the distribution. Keywords can dynamically alter the names and locations used by the distribution process. This allows for quick report maintenance and also for assigning values easily from one cell change. As you can see in the Global Variable Definitions, you defined [YYYY-MM] with the value 2002-06. You will use that to define the Month filter column so next month you can run reports for June by changing only one cell, E36.
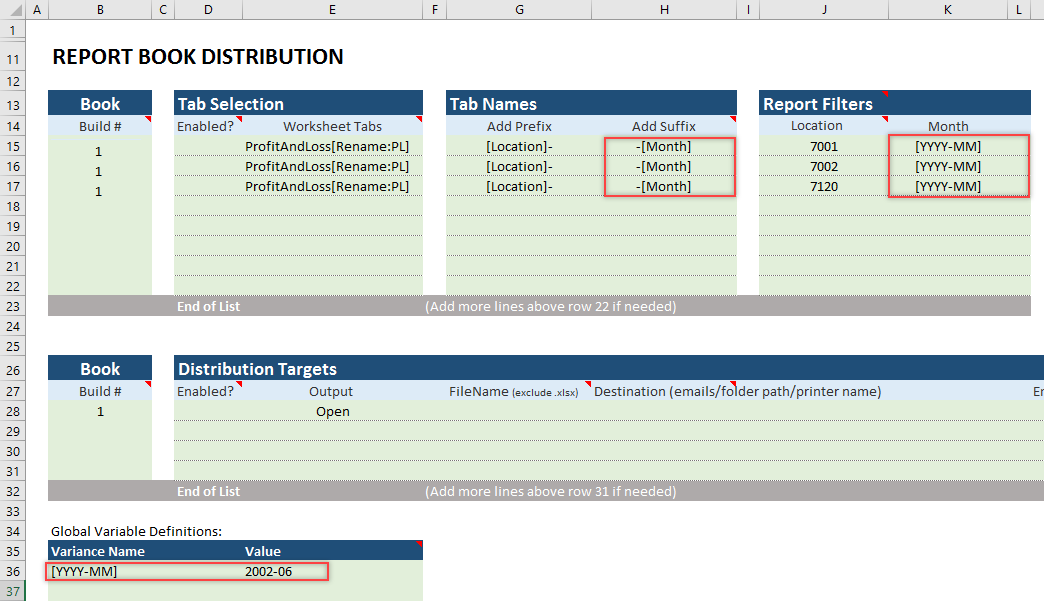
The resulting distribution looks the same, but now it requires less maintenance.

Export Target Options
The distribution process allows a wide range of export options. The screenshots below show the drop-down that lists all current options. These are described in the following table.
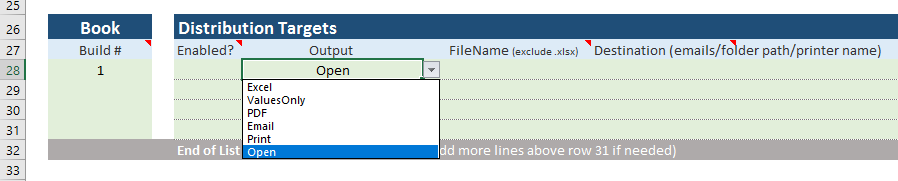
| Output | Purpose |
|---|---|
| Excel | Saves the Excel file and has the option to rename it. |
| Values Only | Removes DataCell formulas from the report, saves the Excel file, and has options to rename it, open it, and email it. |
| Saves the Excel file as a PDF and has the option to open it immediately, give it a custom name, or email to designated recipients. | |
| Emails the Excel file to designated recipients and has the option to rename it | |
| Prints the Excel file to a designated printer or the default printer. | |
| Open | Opens the Excel file. |
Distributing Multiple Sheets
Sometimes you may want include more than one worksheet in each line of the distribution, and it can be easily done by separating additional tab names with a comma.
Step 1: To do this, navigate back to the distribution and type BalanceSheet after ProfitAndLoss, as shown below.
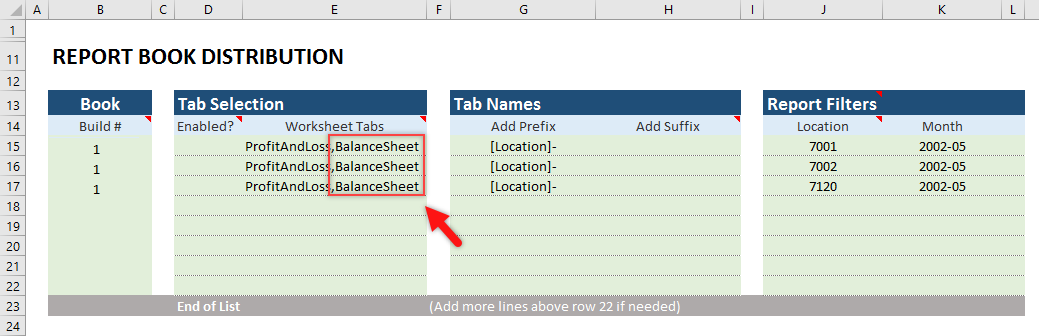
The resulting distribution looks like this:

Specializing Reports Using Multiple Builds
Each workbook Build of the distribution process results in a separate workbook. For example, you can create one report for a business director, one for a regional manager, and another for a location manager. The director needs to see all districts, the regional manager needs specific districts, and the location manager needs just one location. This is easily accomplished by creating a different Build with slightly different parameters for each scenario.
In the example below, you are creating a simple workbook for the Profit and Loss reports and a separate one for the Balance Sheets.
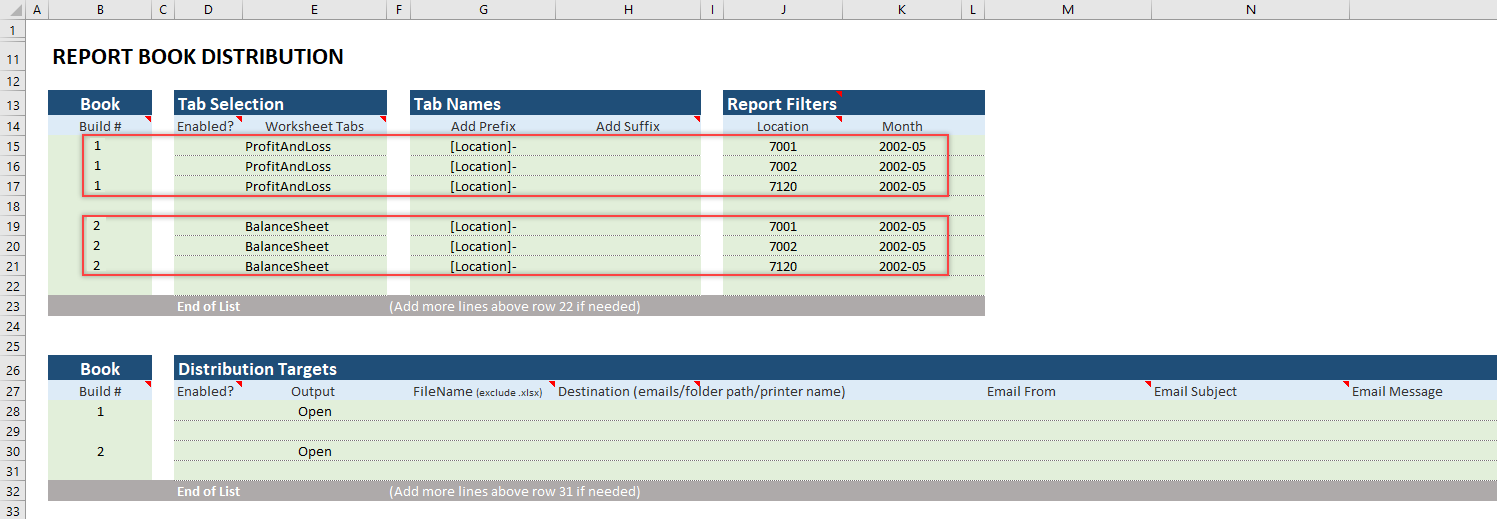
The first workbook looks like this:
And the second workbook looks like this:

Building Distribution Reports Without Pulling Data
In the previous examples of building a distribution report, the data was systematically pulled for each report after the creation of the report. This section covers how to turn off the automatic pulling of data.
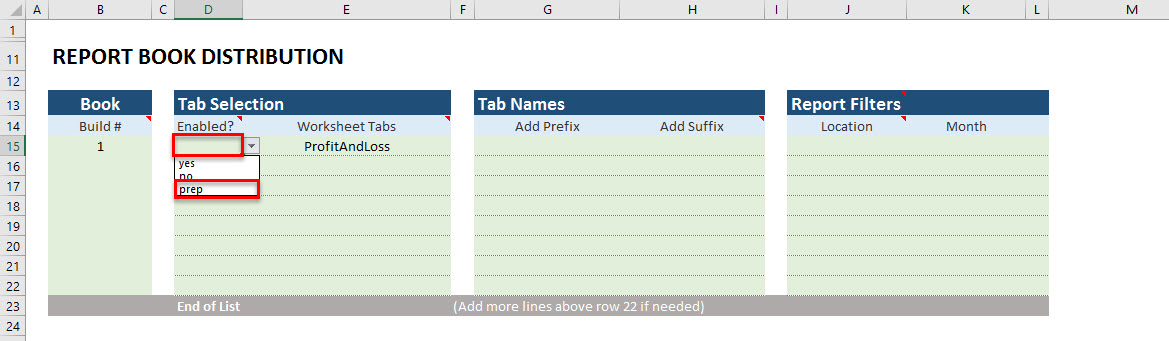
Step 1: Select Cell D15, D16 and D17 then open the dropdown menu for each and select the Prep option for each cell.
Step 2: Input ProfitAndLoss into cells E16 and E17.
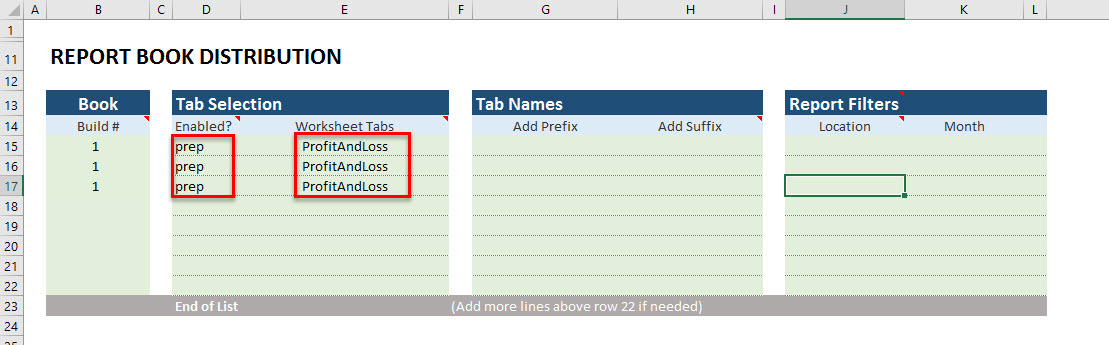
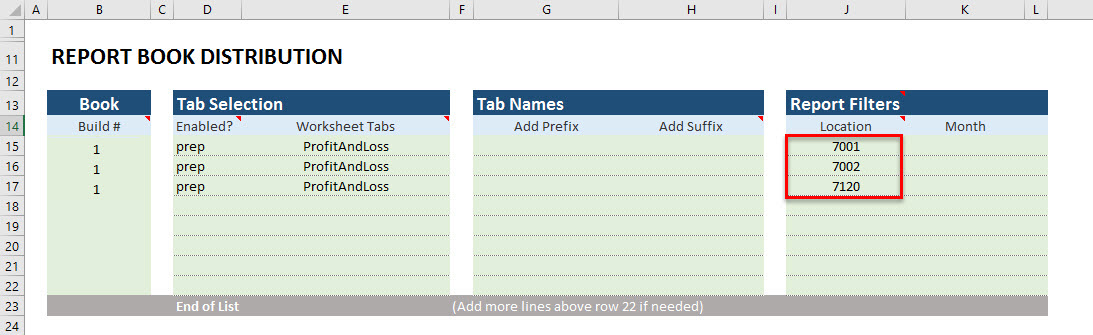
Step 3: In Cells J15, J16, and J17 insert 7001, 7002, 7120 respectively.
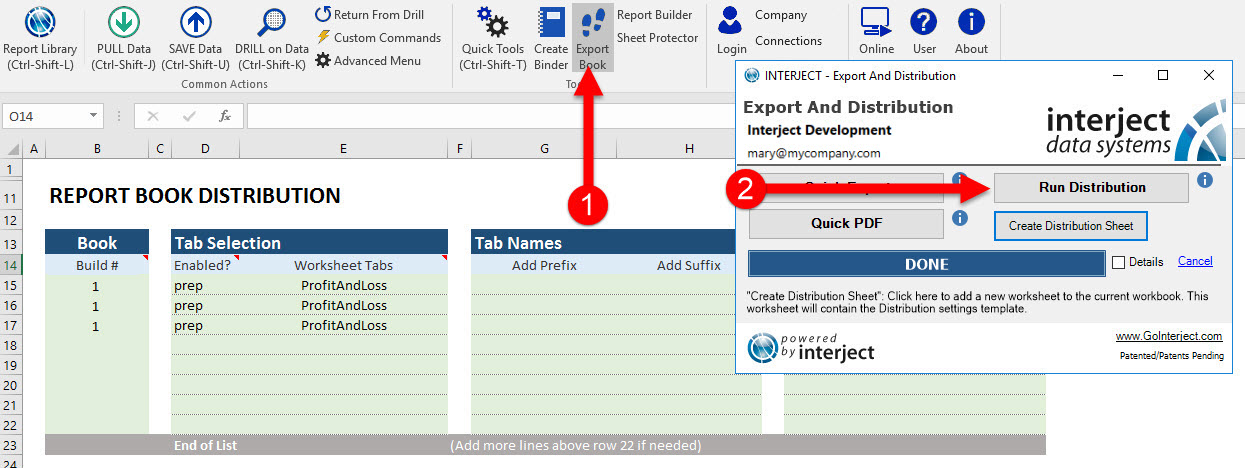
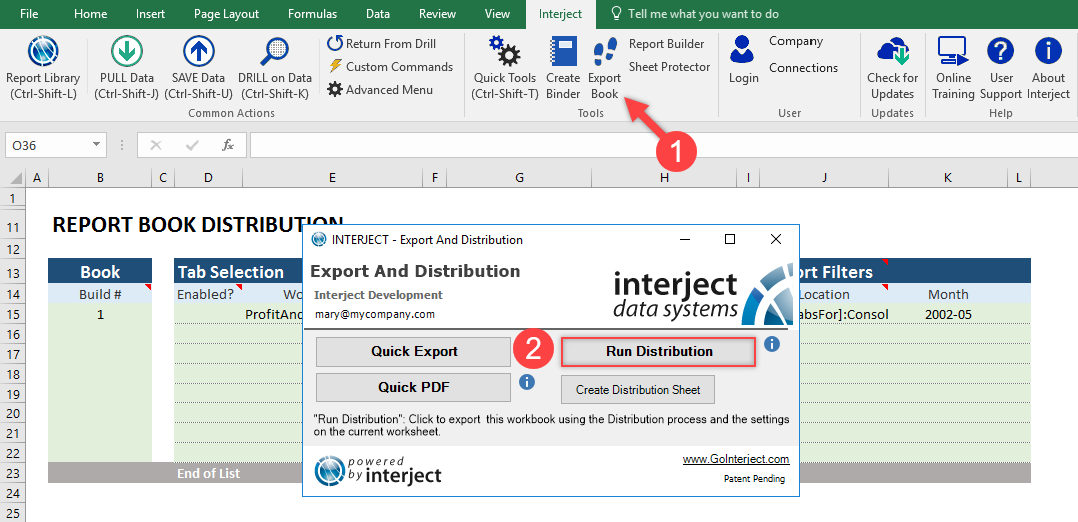
Step 4: Open the Export Book form in the Interject Ribbon then select Run Distribution.
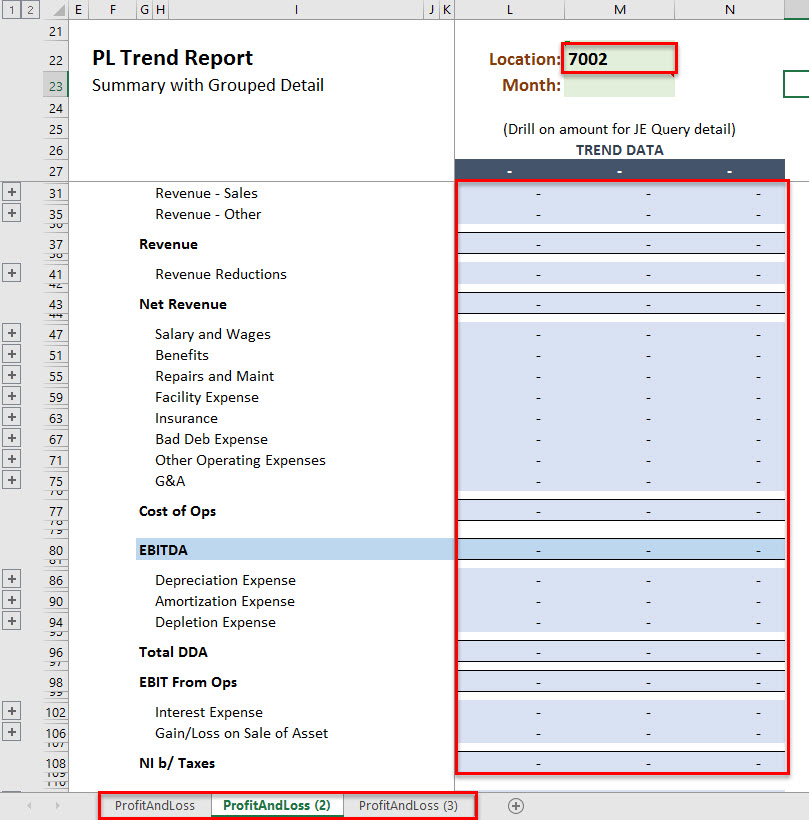
Now you can see that the reports were built, but no data was pulled automatically for the specified reports.
Grouping Segments
In the distribution examples above, each location is entered on a separate row. Using the Grouping Segments feature, the distribution process will automatically add new tabs in the new workbook for every item in a group. To use this feature, the groups must be configured first. In the following example, you are using the group Consol which is setup to include locations 7001, 7002, and 7120.
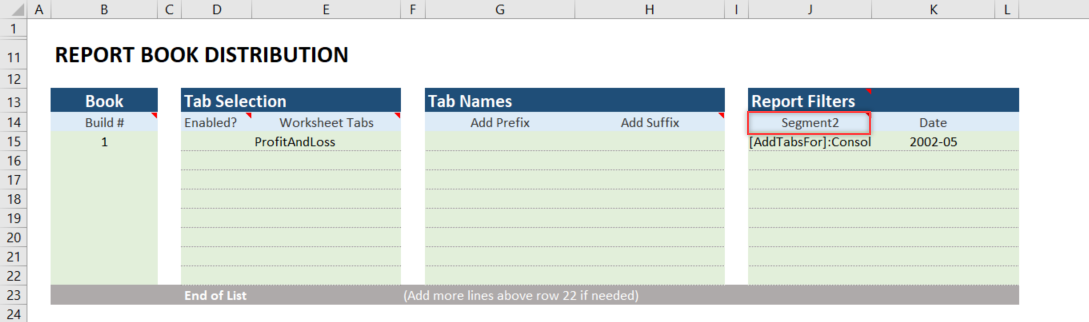
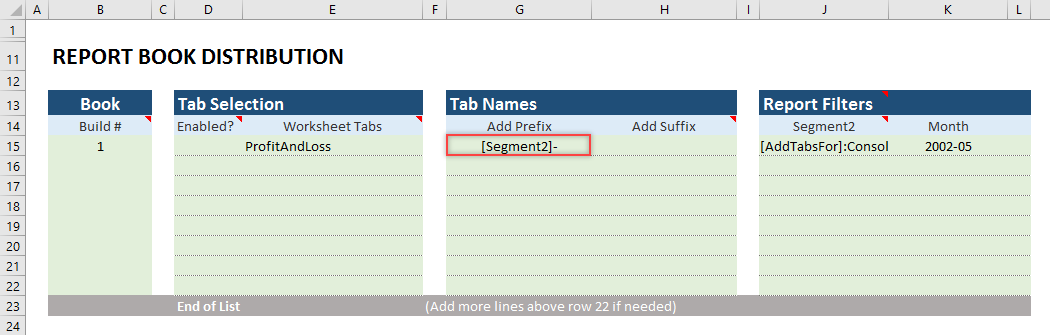
Step 1: In the below example you will use the filter: [AddTabsFor]:Consol, under the Location column.

Step 2: In order to iterate through each location of the group Consol, you need to change the filter name to the name of the segment. In the demo setup, this was named Segment, but it would normally be named Location. Due to the demo setup, you must change the filter name to Segment2 as shown below.
Step 3: Now you will go back to the PL Trend tab and change the Location to Consol. Next select O26 and change the jRangeTag() from Location to Segment2. Use of the Range Tab function was discussed in the Basic Distribution example.
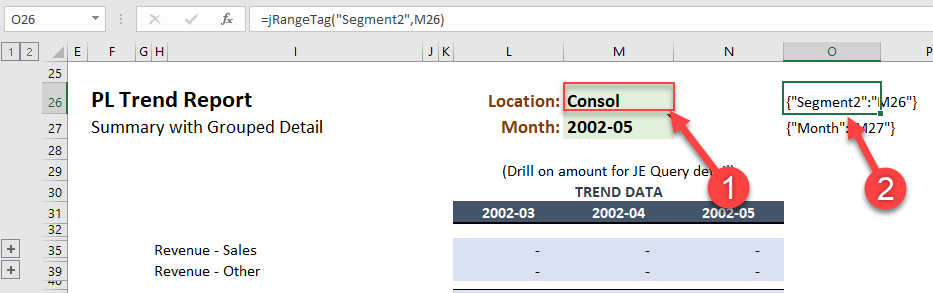
Step 4: You can also put Segment2 in the prefix or suffix columns to dynamically create the tab names for more organization.
Step 5: All settings are now contained in one line. When this distribution is run, the values for the group Consol are retrieved and used in generating new tabs. Run the distribution to see how it looks.
As you can see, with only one distribution row, you created a tab for each Location in the grouping, and each tab was named with the location so that you can quickly see which tab has which information.