Installing - Single User
Estimated reading time: 3 minutesOverview
Interject aims to make the installation process as simple and painless as possible. This installation is intended for single user computers.
Note: If you are installing on a Windows Server machine, click here for instructions on installing on a shared computer.
Installing Interject
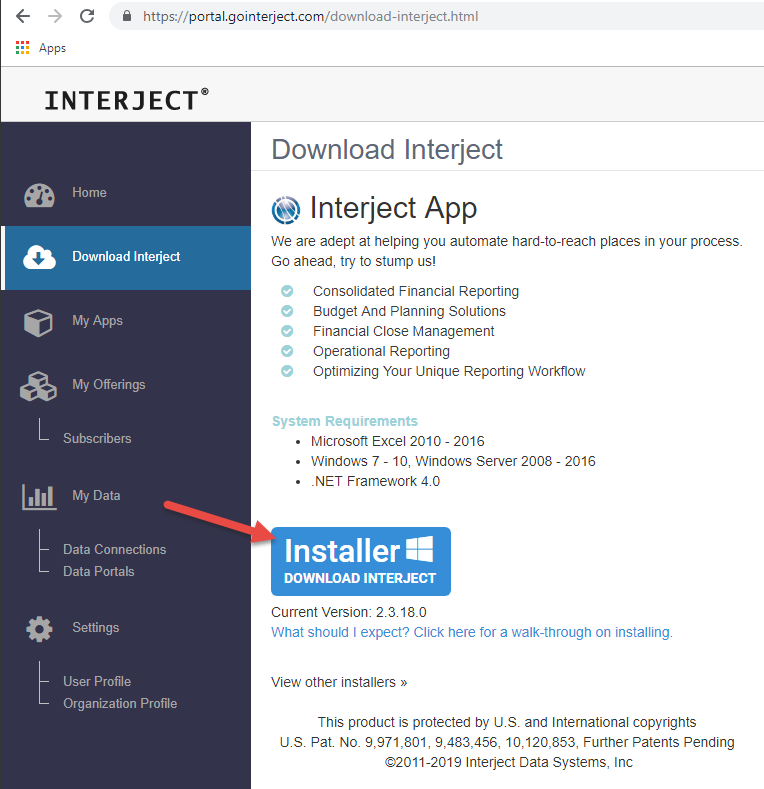
Step 1: Navigate to https://portal.gointerject.com
Step 2: If you have an existing account, log in to the portal website with the same credentials used for the Interject Excel Add-in. If you do not have an account, you can request one here.
Step 3: Once logged in, go to the download page.

Step 4: Click the Installer button to begin. (For detailed information, see Download Interject).
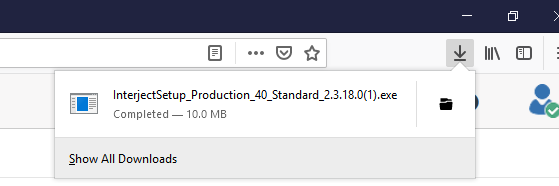
Step 6: Once the download is complete, run the install file. This will look different in every browser. We've given examples of the most common browsers below.
Google Chrome:

Mozilla Firefox:
Microsoft Edge:

Microsoft Internet Explorer:

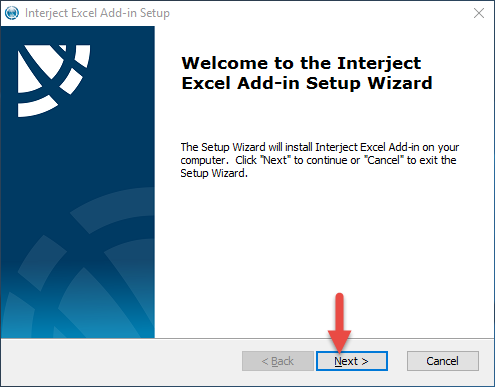
Step 7: Running the file will launch the Interject Excel Add-In Setup Wizard, which will guide you through the Install Process. Select Next.
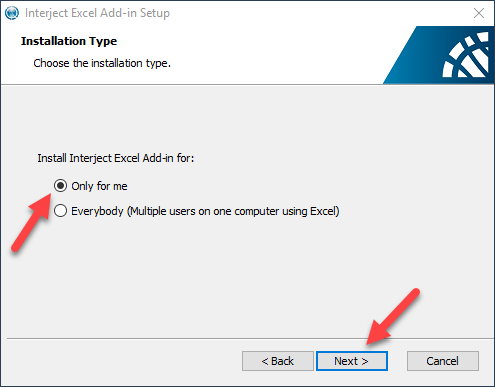
Step 8: Two options will be available when installing on Windows Server.
- Install as 'per-user' (current user)
- Install as 'per-machine' (everybody)
To install for current user on the server, make sure the Only for me button is selected then click Next.
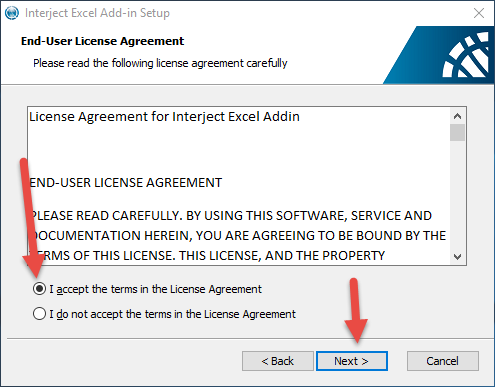
Step 9: Read and accept the End-User License Agreement, then select Next.
Step 10: Choose the destination folder for your installation, then select Next.

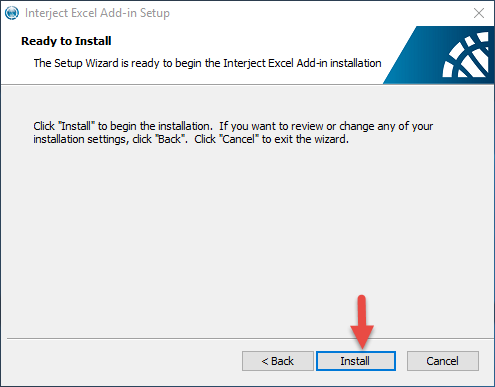
Step 11: Click Install.
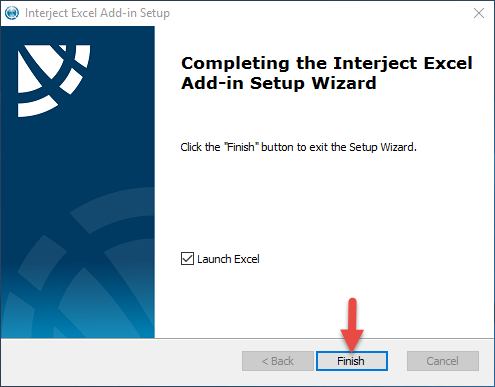
Step 11: Once the installation is finished, the installer will tell you if it is complete.
Click here for login information
If you run into any issues, email us at help@gointerject.com.
File Locations
The following are the file locations for Interject for a single user install:
- Application: AppData\local\Interject
- File Cache: AppData\local\Interject
- Config & Auth: AppData\roaming\Interject